Part 10.1 : Advanced TestNG Features in Appium Framework
Now that we’ve seen how to create and run basic Appium tests using TestNG, let’s move into advanced integration. These concepts are especially useful when you’re building a real-world automation framework for mobile apps.

1. Enhancing TestNG with Listeners (for Appium)
What are Listeners?
Listeners in TestNG are interfaces that allow you to listen to events during the test execution lifecycle and take actions — for example:
Taking screenshots when a test fails
Logging test start and end times
Generating custom reports
Retrying failed tests automatically
Commonly Used Listener Interfaces:
Listener Interface
Purpose
ITestListener
Respond to test-level events (start, fail)
ISuiteListener
Respond to suite-level events
IInvokedMethodListener
Before/after method execution
IRetryAnalyzer
Retry failed tests
Example: Capture Screenshot on Test Failure
Step 1: Create a Listener Class
					import org.testng.ITestListener;
import org.testng.ITestResult;
import org.openqa.selenium.OutputType;
import org.openqa.selenium.TakesScreenshot;
import java.io.File;
import java.nio.file.Files;

public class TestListener implements ITestListener {

    @Override
    public void onTestFailure(ITestResult result) {
        Object testClass = result.getInstance();
        AppiumDriver driver = ((BaseTest) testClass).getDriver();

        File srcFile = ((TakesScreenshot) driver).getScreenshotAs(OutputType.FILE);
        try {
            Files.copy(srcFile.toPath(), new File("screenshots/" + result.getName() + ".png").toPath());
        } catch (Exception e) {
            e.printStackTrace();
        }
    }
}
Step 2: Register the Listener in Your Test Class or testng.xml
Option A – In test class:
					@Listeners(TestListener.class)
public class LoginTest {
    // test methods
}
Option B – In testng.xml:
					<listeners>
    <listener class-name="com.yourproject.listeners.TestListener"/>
</listeners>
Note: You must have a getDriver() method in your base test class that returns the AppiumDriver object.
2. Retry Failed Tests Automatically
Sometimes tests fail due to temporary issues like network delay or element timing. You can set up TestNG to automatically retry failed tests.
Step 1: Create a Retry Analyzer
					import org.testng.IRetryAnalyzer;
import org.testng.ITestResult;

public class RetryAnalyzer implements IRetryAnalyzer {
    private int attempt = 1;
    private final int maxRetry = 2;

    public boolean retry(ITestResult result) {
        if (attempt < maxRetry) {
            attempt++;
            return true;
        }
        return false;
    }
}
Step 2: Use in Your Test Class
					@Test(retryAnalyzer = RetryAnalyzer.class)
public void unstableTest() {
    // test logic
}
You can also configure it globally using listeners and annotation transformers if needed.
3. TestNG Reports and Logging
TestNG provides basic reports by default (HTML and XML). You can find them in the test-output folder after running the suite.
However, for better reporting, you might want to integrate tools like:
- ExtentReports – For rich HTML reports with screenshots and logs
- Allure Reports – A powerful open-source reporting framework
Let me know if you’d like a walkthrough for integrating ExtentReports with Appium and TestNG.
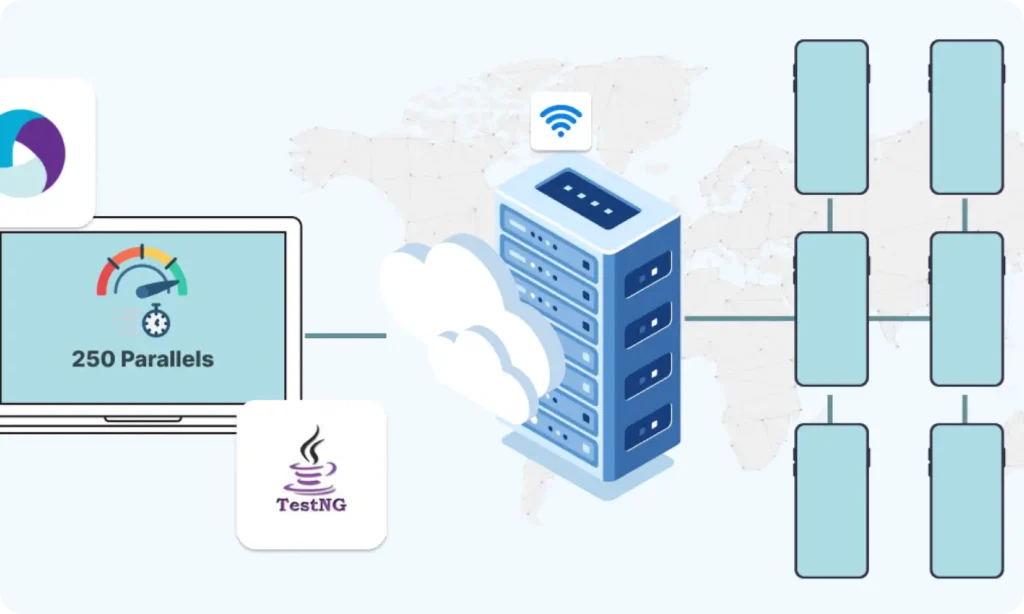
4. Running Tests on Multiple Devices (Parallel Execution)
Let’s expand on the earlier parallel testing setup using TestNG parameters and testng.xml.
Step 1: Define Parameters in testng.xml
					<suite name="ParallelSuite" parallel="tests" thread-count="2">
    <test name="Device1">
        <parameter name="udid" value="emulator-5554"/>
        <parameter name="systemPort" value="8200"/>
        <classes>
            <class name="com.yourproject.tests.LoginTest"/>
        </classes>
    </test>
    <test name="Device2">
        <parameter name="udid" value="emulator-5556"/>
        <parameter name="systemPort" value="8201"/>
        <classes>
            <class name="com.yourproject.tests.LoginTest"/>
        </classes>
    </test>
</suite>
Step 2: Read Parameters in Base Setup
					@Parameters({"udid", "systemPort"})
@BeforeClass
public void setUp(String udid, String systemPort) throws MalformedURLException {
UiAutomator2Options options = new UiAutomator2Options()
            .setUdid(udid)
            .setSystemPort(Integer.parseInt(systemPort));
            // Add other capabilities as needed

        driver = new AndroidDriver(new URL("http://127.0.0.1:4723/wd/hub"), options);
    }


    driver = new AndroidDriver<>(new URL("http://127.0.0.1:4723/wd/hub"), caps);
}
This setup allows you to run the same test class across multiple devices/emulators simultaneously by specifying different UDIDs and Appium ports/system ports
5. Integration with CI/CD (Preview)
While this will be covered in detail in a later session, here’s what you need to know now:
- TestNG + Appium + Maven makes it easy to integrate with Jenkins or any CI server
- You can run TestNG suites via command line:
- mvn test -DsuiteXmlFile=testng.xml
- These executions can be triggered by Jenkins pipelines, GitHub Actions, GitLab CI, etc.
- In later sessions, we will cover:
Setting up Jenkins jobs - Generating reports post-build
- Sending email or Slack alerts for failed test runs
Summary of Advanced Features
Feature
Purpose
Listeners
Take action on test events (e.g., screenshot)
Retry Analyzer
Re-run flaky tests automatically
Parallel Execution
Run tests on multiple devices/emulators
Parameters in XML
Pass device-specific data to tests
CI/CD Ready
Easily executable via CLI and CI pipelines
Building complex IoT systems?
Accelerate testing and deployment with our QEMU-integrated toolchain expertise.
Mastering Appium: A Complete Beginner-to-Expert Mobile Automation Guide

Part 1 : Introduction to Mobile Automation and Appium
Part 2 : Appium Architecture, Tools Setup & How Test Code Connects to Devices
Part 3 : Java Fundamentals for Test Automation
Part 4 : Next Steps: Level Up Before Real Appium Scripting
Part 5 : Setting Up the Environment (Windows & macOS)
Part 6 : Understanding UiAutomator2 (Android Engine)

Part 7 : First Appium Test Script (Android)
Part 8 : Handling Waits and Synchronization in Appium (Android)
Part 9 : Element Locator Strategies in Android (ID, XPath, etc.)
Part 10 : TestNG Integration for Test Execution
Part 10.1 : Advanced TestNG Features in Appium Framework
Part 11 : Page Object Model (POM) Design in Appium (Android)

Part 12 : Logging with Log4j & Reporting with Extent Reports (Appium - Android)
Part 10.1: Advanced TestNG Features in Appium Framework