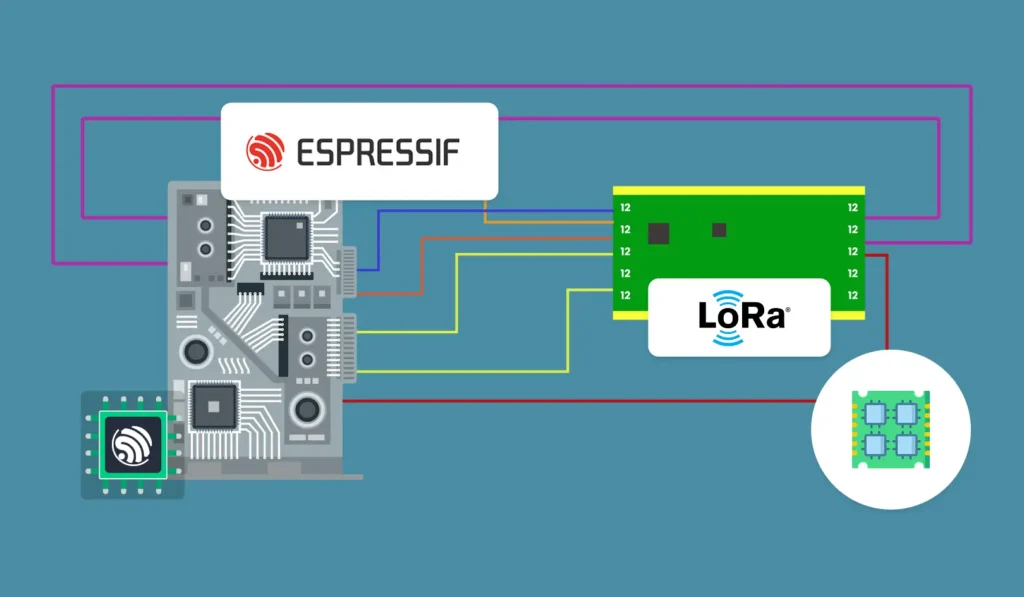
Example Implementation for ESP32 with ESP-IDF Using Custom LoRa Library
Overview of Key Functions in Your LoRa Library
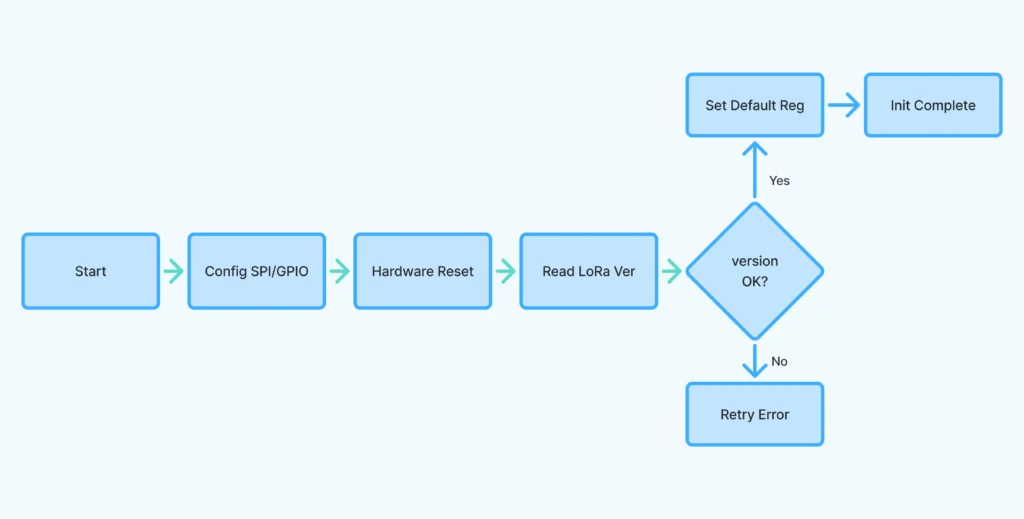
- lora_init()
Initializes SPI, configures GPIOs for CS and RESET pins, performs a hardware reset on the LoRa chip, reads and verifies the chip version, and configures default radio settings (power, frequency, standby mode). - lora_set_frequency(long frequency)
Sets the carrier frequency of the radio by writing corresponding values to registers, e.g., 868 MHz for Europe. - lora_set_tx_power(int level)
Configures the output transmit power level (valid range 2 to 17) to control signal strength. - lora_set_spreading_factor(int sf)
Sets the spreading factor (6–12), determining data rate and sensitivity; higher values increase range but lower data rate. - lora_set_bandwidth(long sbw)
Sets the signal bandwidth (e.g., 125000 Hz), affecting data capacity and interference tolerance. - lora_set_sync_word(int sw)
Defines the network “sync word” so only devices with matching sync words communicate. - lora_enable_crc() / lora_disable_crc()
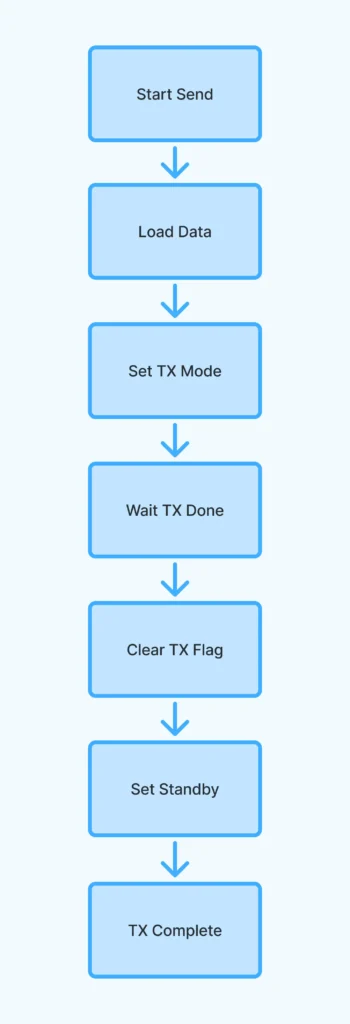
Enable or disable cyclic redundancy checking (CRC) for packet integrity. - lora_send_packet(uint8_t buf, int size)
Send a data packet. Loads data into the FIFO, switches the transceiver into transmit mode, and waits for transmission to complete. - lora_receive()
Puts the LoRa chip into continuous receive mode, listening for packets. - *lora_receive_packet(uint8_t buf, int size)
Reads an incoming packet into the provided buffer if available, returns the length or zero if none. - lora_reset()
Performs a hardware reset by toggling the reset GPIO pin with proper delays. - Note: For register definitions follow through your LoRa module IC’s data sheets.
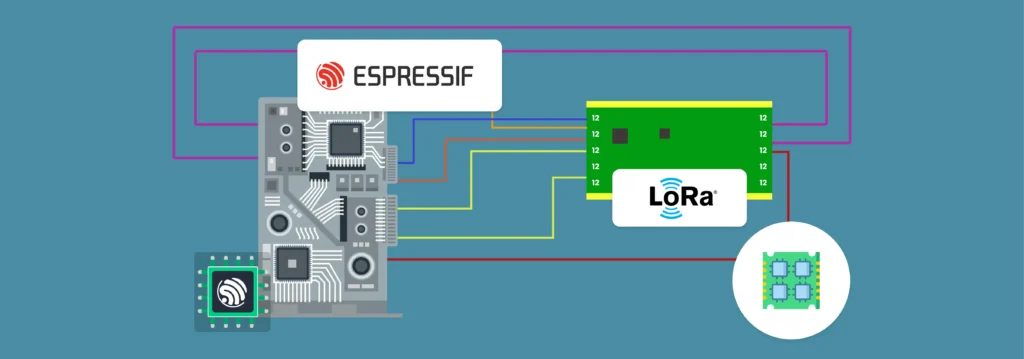
Initialization and Configuration Example
					#include "freertos/FreeRTOS.h"
#include "freertos/task.h"
#include "lora_library.h"//custom library contains lora dependent functions and registers
#include <stdio.h>

void lora_setup() {
    esp_err_t ret = lora_init();
    if (ret != ESP_OK) {
        printf("LoRa initialization failed!\n");
        return;
    }

    lora_set_frequency(868000000);   // Set frequency to 868 MHz
    lora_set_tx_power(14);           // Set transmit power level
    lora_set_spreading_factor(7);   // Use spreading factor 7 (good balance of speed and range)
    lora_set_bandwidth(125000);      // 125 kHz bandwidth
    lora_set_sync_word(0xF3);        // Set sync word for network isolation
    lora_enable_crc();               // Enable CRC checking for data integrity

    printf("LoRa initialized and configured.\n");
}

Example: LoRa Transmitter
					void app_main() {
    lora_setup();

    int counter = 0;
    char message[64];

    while (1) {
        snprintf(message, sizeof(message), "Hello from ESP32: message %d", counter++);
        printf("Sending: %s\n", message);

        lora_send_packet((uint8_t *)message, strlen(message));

        vTaskDelay(pdMS_TO_TICKS(5000));  // Delay 5 seconds between sends
    }
}

Explanation:
- Calls initialization and configures LoRa.
- Sends incrementing messages every 5 seconds.
- lora_send_packet takes care of loading data and managing transmission state.
Example: LoRa Receiver + Echo Responder
					void app_main() {
    lora_setup();
    lora_receive(); // Enter continuous receive mode

    char rx_buffer[128];
    char response[128];
    int response_counter = 0;

    while (1) {
        int len = lora_receive_packet((uint8_t *)rx_buffer, sizeof(rx_buffer) - 1);
        if (len > 0) {
            rx_buffer[len] = '\0';  // Null-terminate received string
            printf("Received: %s\n", rx_buffer);

            // Prepare an acknowledgment response with received message and counter
            snprintf(response, sizeof(response), "%s [ack #%d]", rx_buffer, response_counter++);
            printf("Sending response: %s\n", response);

            lora_send_packet((uint8_t *)response, strlen(response));

            vTaskDelay(pdMS_TO_TICKS(100));  // short delay before receive mode again
            lora_receive(); // Go back to receive mode
        }
        vTaskDelay(pdMS_TO_TICKS(10));
    }
}


Explanation:
- Initializes and configures LoRa as receiver.
- When the packet arrives, it reads, prints it, then sends back the same message with an acknowledgment number.
- After sending a response, it returns to receive mode.
LoRa Uncovered: From Fundamentals to Real-World IoT Applications
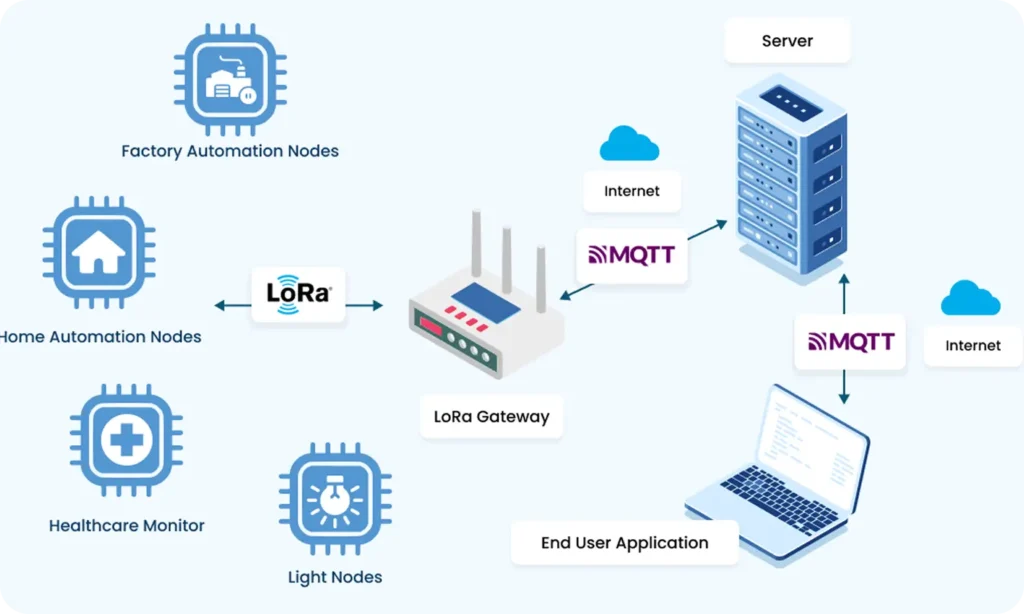
Part 1: Understanding LoRa – Fundamentals and Core Concepts
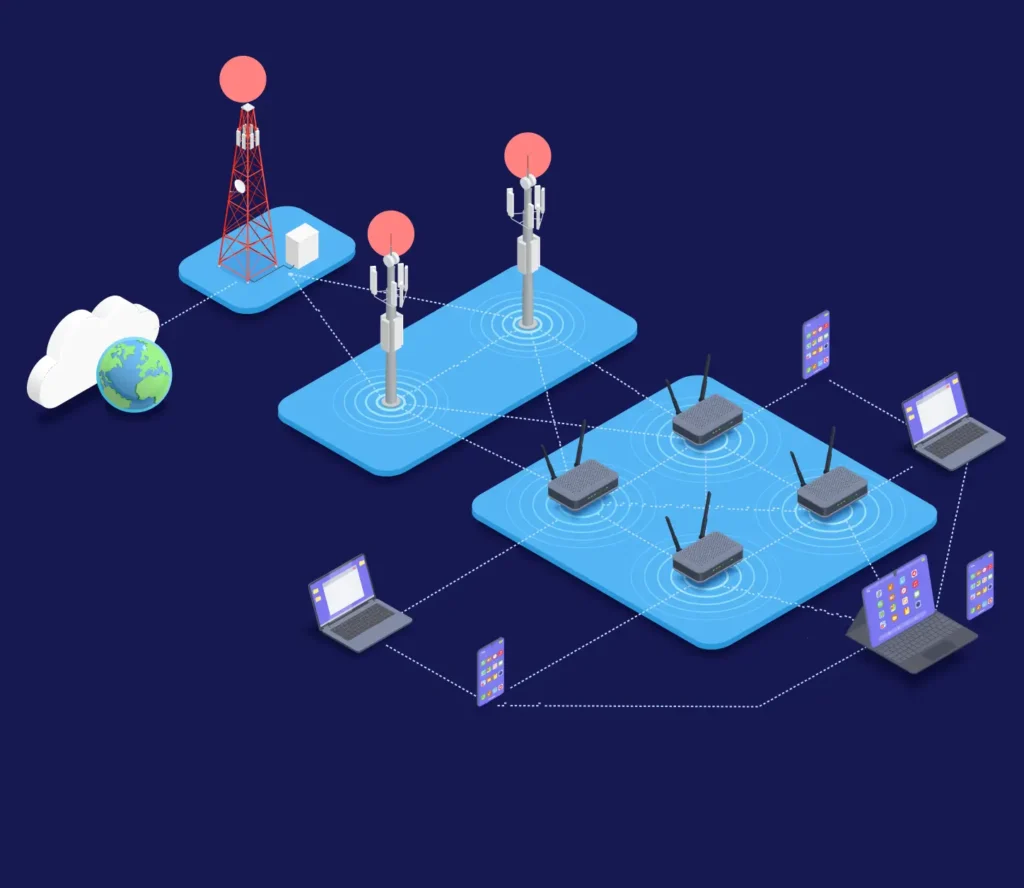
Part 2: Key Concepts in LoRa Technology
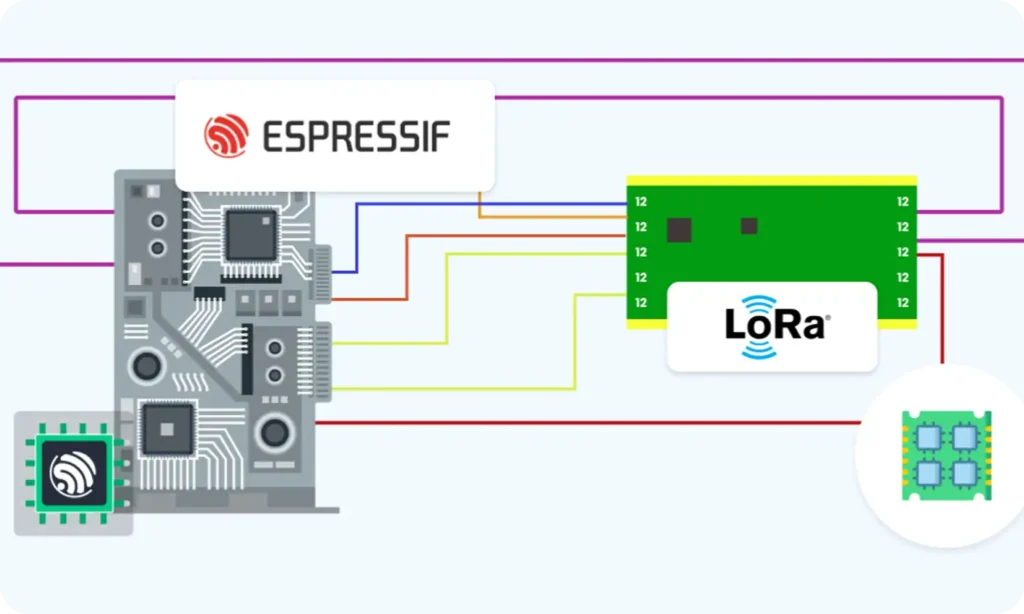
Part 3: Getting Hands on LoRa with Microcontrollers
