Part 10 : TestNG Integration for Test Execution
In mobile automation testing with Appium, we often need to execute multiple test cases in an organized way. This includes running different scenarios on different devices or OS versions, setting up and tearing down the Appium server and drivers, managing test data, and executing in parallel when needed.
This is where TestNG comes in. It acts as the test execution engine for your Appium framework, helping manage all these tasks.
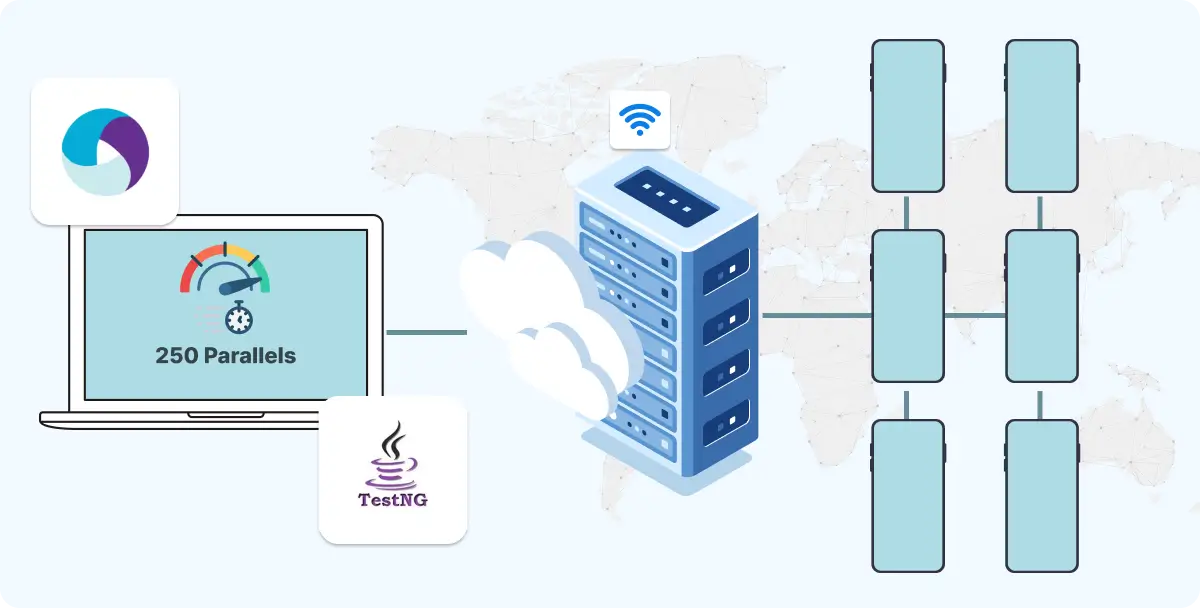
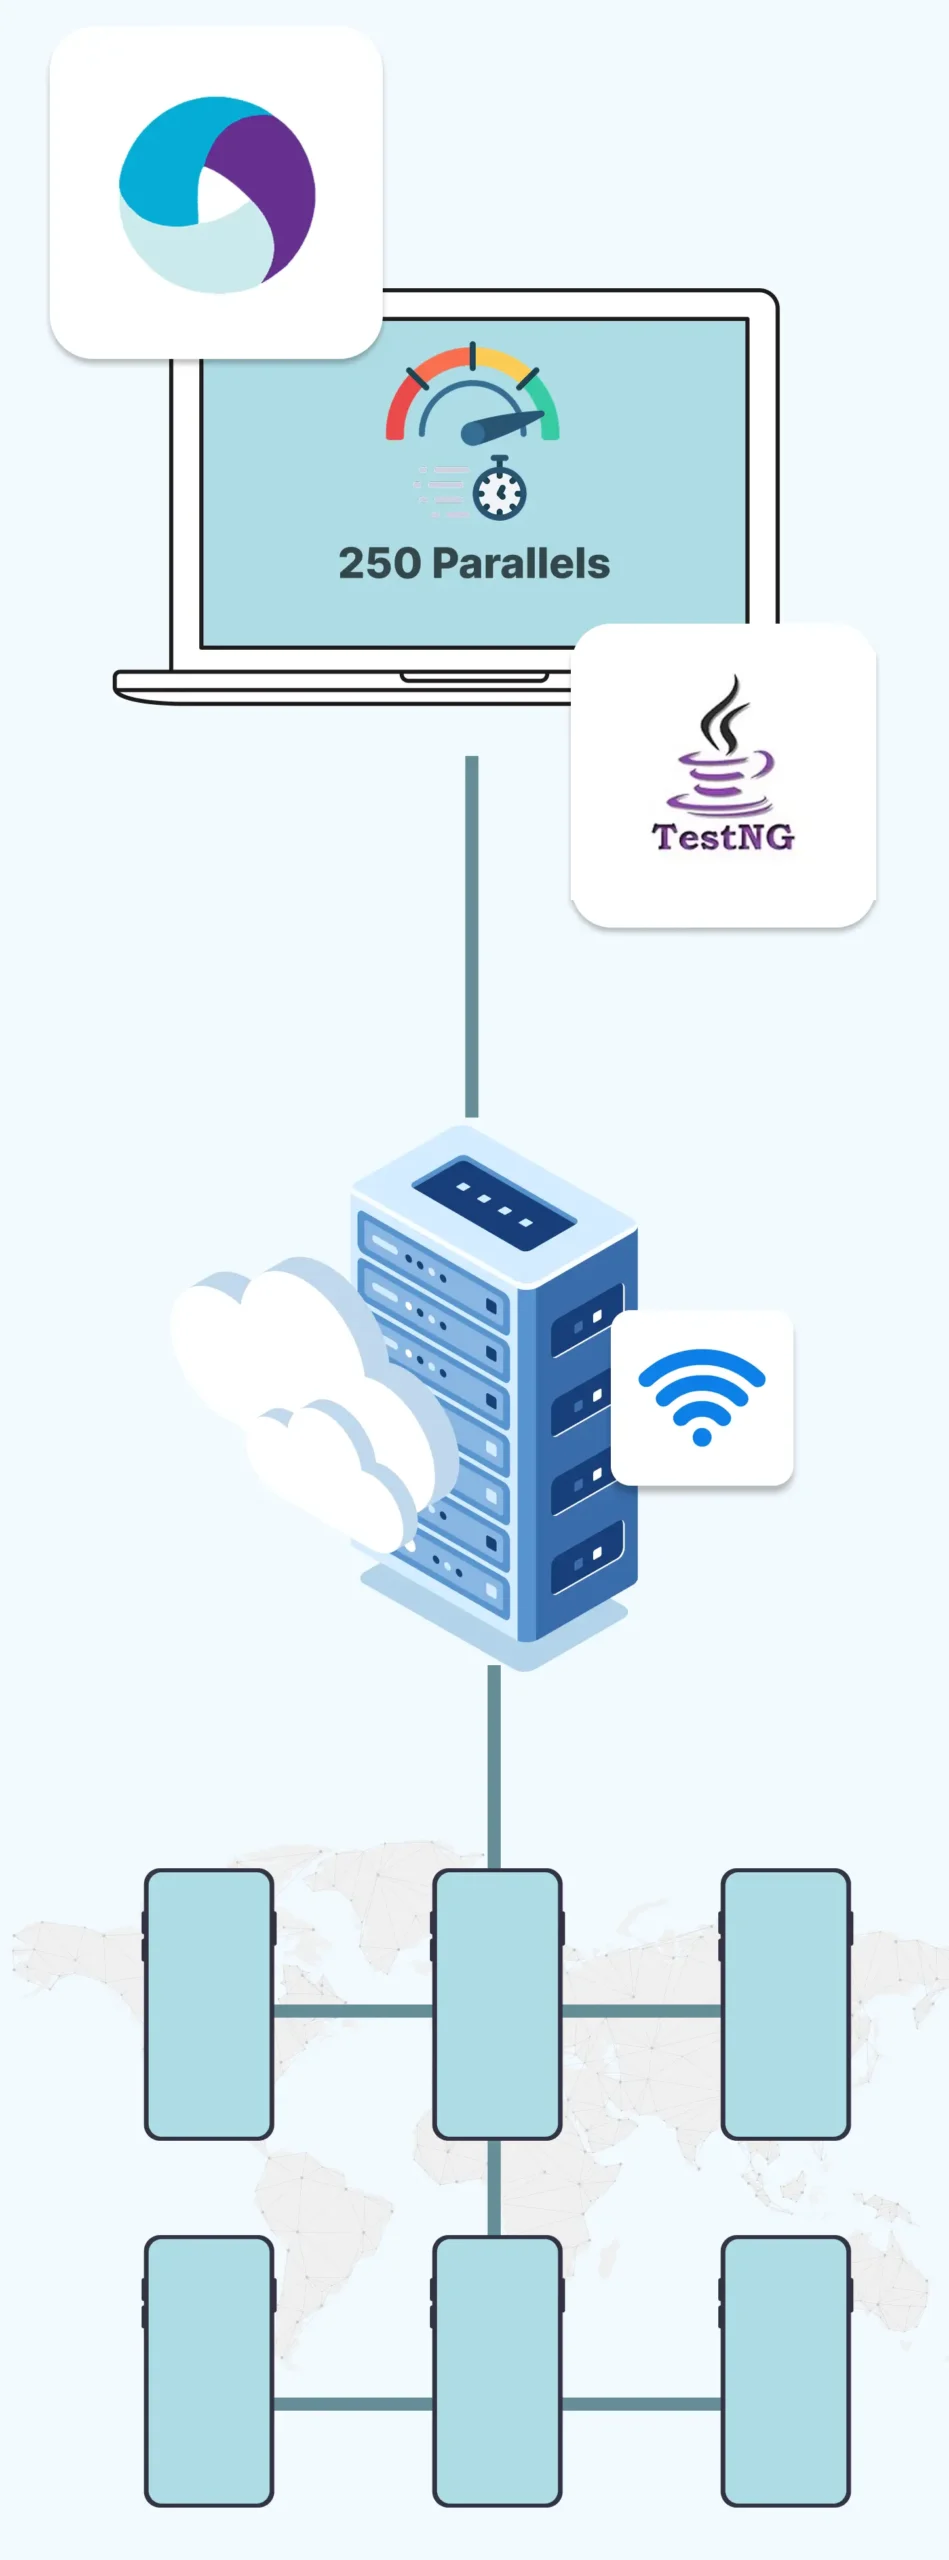
Table of Contents
- What is TestNG?
- Step 1: Add TestNG to Your Appium Maven Project
- Step 2: Structure Your Appium Test with TestNG Annotations
- Step 3: Configure testng.xml for Appium Test Execution
- Step 4: Execute Appium Tests with TestNG
- Additional TestNG Features for Appium Projects
- Typical Appium Project Structure with TestNG
What is TestNG?
TestNG (Test Next Generation) is a testing framework inspired by JUnit, but designed to provide more flexible and powerful features. It is especially useful for managing complex test flows, such as those we commonly encounter in mobile automation.
Why Use TestNG with Appium?
- Organize and manage test execution using annotations
- Run tests across multiple devices in parallel
- Pass test data through DataProviders (e.g., user logins, device configurations)
- Integrate easily with Appium and Maven
- Generate test reports out of the box
Step 1: Add TestNG to Your Appium Maven Project
Your Appium test project should be using Maven for dependency management. Add the following to your pom.xml file:
					<dependency>
    <groupId>org.testng</groupId>
    <artifactId>testng</artifactId>
    <version>7.9.0</version> <!-- Use latest version -->
    <scope>test</scope>
</dependency>
Step 2: Structure Your Appium Test with TestNG Annotations
Here’s a basic example of how to use TestNG with Appium.
Sample Test Class
					import io.appium.java_client.AppiumDriver;
import io.appium.java_client.MobileElement;
import io.appium.java_client.android.AndroidDriver;
import org.testng.annotations.*;

import java.net.URL;
import org.openqa.selenium.remote.DesiredCapabilities;

public class LoginTest {

    private AppiumDriver<MobileElement> driver;

    @BeforeClass
    public void setUp() throws Exception {
        DesiredCapabilities caps = new DesiredCapabilities();
        caps.setCapability("platformName", "Android");
        caps.setCapability("deviceName", "emulator-5554");
        caps.setCapability("app", "/path/to/your/app.apk");

        driver = new AndroidDriver<>(new URL("http://127.0.0.1:4723/wd/hub"), caps);
    }

    @Test
    public void validLoginTest() {
        // Appium test code to perform login
    }

    @AfterClass
    public void tearDown() {
        if (driver != null) {
            driver.quit();
        }
    }
}
Explanation:
- @BeforeClass: Launches Appium and initializes the driver before tests run.
- @Test: Contains the actual test logic.
- @AfterClass: Closes the Appium session after tests are done.
Step 3: Configure testng.xml for Appium Test Execution
Here is a sample TestNG XML file (testng.xml) that defines your suite:
					<!DOCTYPE suite SYSTEM "https://testng.org/testng-1.0.dtd" >
<suite name="MobileTestSuite">
    <test name="AndroidLoginTests">
        <classes>
            <class name="com.yourproject.tests.LoginTest"/>
        </classes>
    </test>
</suite>
This file lets you specify what test classes to run and how to run them (e.g., parallel or sequential execution).
Step 4: Execute Appium Tests with TestNG
Option 1: From IntelliJ or Eclipse
- Right-click on testng.xml
- Select Run As > TestNG Suite
Option 2: From Maven
Make sure the following plugin is included in your pom.xml:
					<plugin>
    <groupId>org.apache.maven.plugins</groupId>
    <artifactId>maven-surefire-plugin</artifactId>
    <version>3.1.2</version>
    <configuration>
        <suiteXmlFiles>
            <suiteXmlFile>testng.xml</suiteXmlFile>
        </suiteXmlFiles>
    </configuration>
</plugin>
Then run:
mvn test
This will execute your Appium tests through TestNG.
Additional TestNG Features for Appium Projects
1. Data-Driven Testing
If you want to test login functionality with multiple user credentials:
					@DataProvider(name = "loginData")
public Object[][] getLoginData() {
    return new Object[][] {
        {"user1", "pass1"},
        {"user2", "pass2"}
    };
}

@Test(dataProvider = "loginData")
public void loginTest(String username, String password) {
    // Use Appium to enter username and password
}
2. Parallel Testing (e.g., multiple devices)
TestNG supports parallel execution. Here’s how to configure in testng.xml:
					<suite name="ParallelMobileTests" parallel="tests" thread-count="2">
    <test name="Device1">
        <parameter name="udid" value="emulator-5554"/>
        <classes>
            <class name="com.yourproject.tests.LoginTest"/>
        </classes>
    </test>
    <test name="Device2">
        <parameter name="udid" value="emulator-5556"/>
        <classes>
            <class name="com.yourproject.tests.LoginTest"/>
        </classes>
    </test>
</suite>
Then in your test code, accept the device UDID:
					@Parameters({"udid"})
@BeforeClass
public void setUp(String udid) throws Exception {
    DesiredCapabilities caps = new DesiredCapabilities();
    caps.setCapability("udid", udid);
    // other capabilities
}
This setup allows your Appium tests to run in parallel on different devices.
Typical Appium Project Structure with TestNG
					project-root/
│
├── src/
│   ├── main/java/               # Utility classes or core components
│   └── test/java/
│       └── com/yourproject/tests/
│           └── LoginTest.java
│
├── testng.xml
├── pom.xml
Summary
Feature
Benefit in Appium Projects
Annotations
Control test flow (setup, teardown, etc.)
XML Suite File
Organize test execution plans
DataProvider
Run same test with different input data
Parameterization
Run same test on different devices
Parallel Execution
Save time by testing multiple devices at once
Building complex IoT systems?
Accelerate testing and deployment with our QEMU-integrated toolchain expertise.
Mastering Appium: A Complete Beginner-to-Expert Mobile Automation Guide

Part 1 : Introduction to Mobile Automation and Appium
Part 2 : Appium Architecture, Tools Setup & How Test Code Connects to Devices
Part 3 : Java Fundamentals for Test Automation

Part 4 : Next Steps: Level Up Before Real Appium Scripting
Part 5 : Setting Up the Environment (Windows & macOS)
Part 6 : Understanding UiAutomator2 (Android Engine)

Part 7 : First Appium Test Script (Android)

Part 8 : Handling Waits and Synchronization in Appium (Android)

Part 9 : Element Locator Strategies in Android (ID, XPath, etc.)
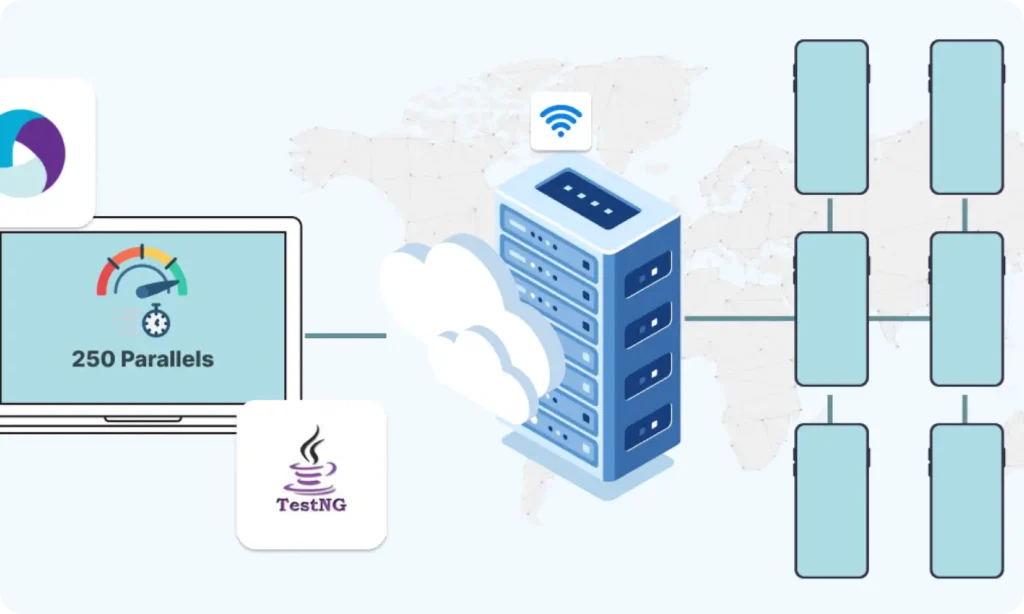
Part 10 : TestNG Integration for Test Execution

Part 10.1 : Advanced TestNG Features in Appium Framework
Part 11 : Page Object Model (POM) Design in Appium (Android)

Part 12 : Logging with Log4j & Reporting with Extent Reports (Appium - Android)

Part 10.1: Advanced TestNG Features in Appium Framework
