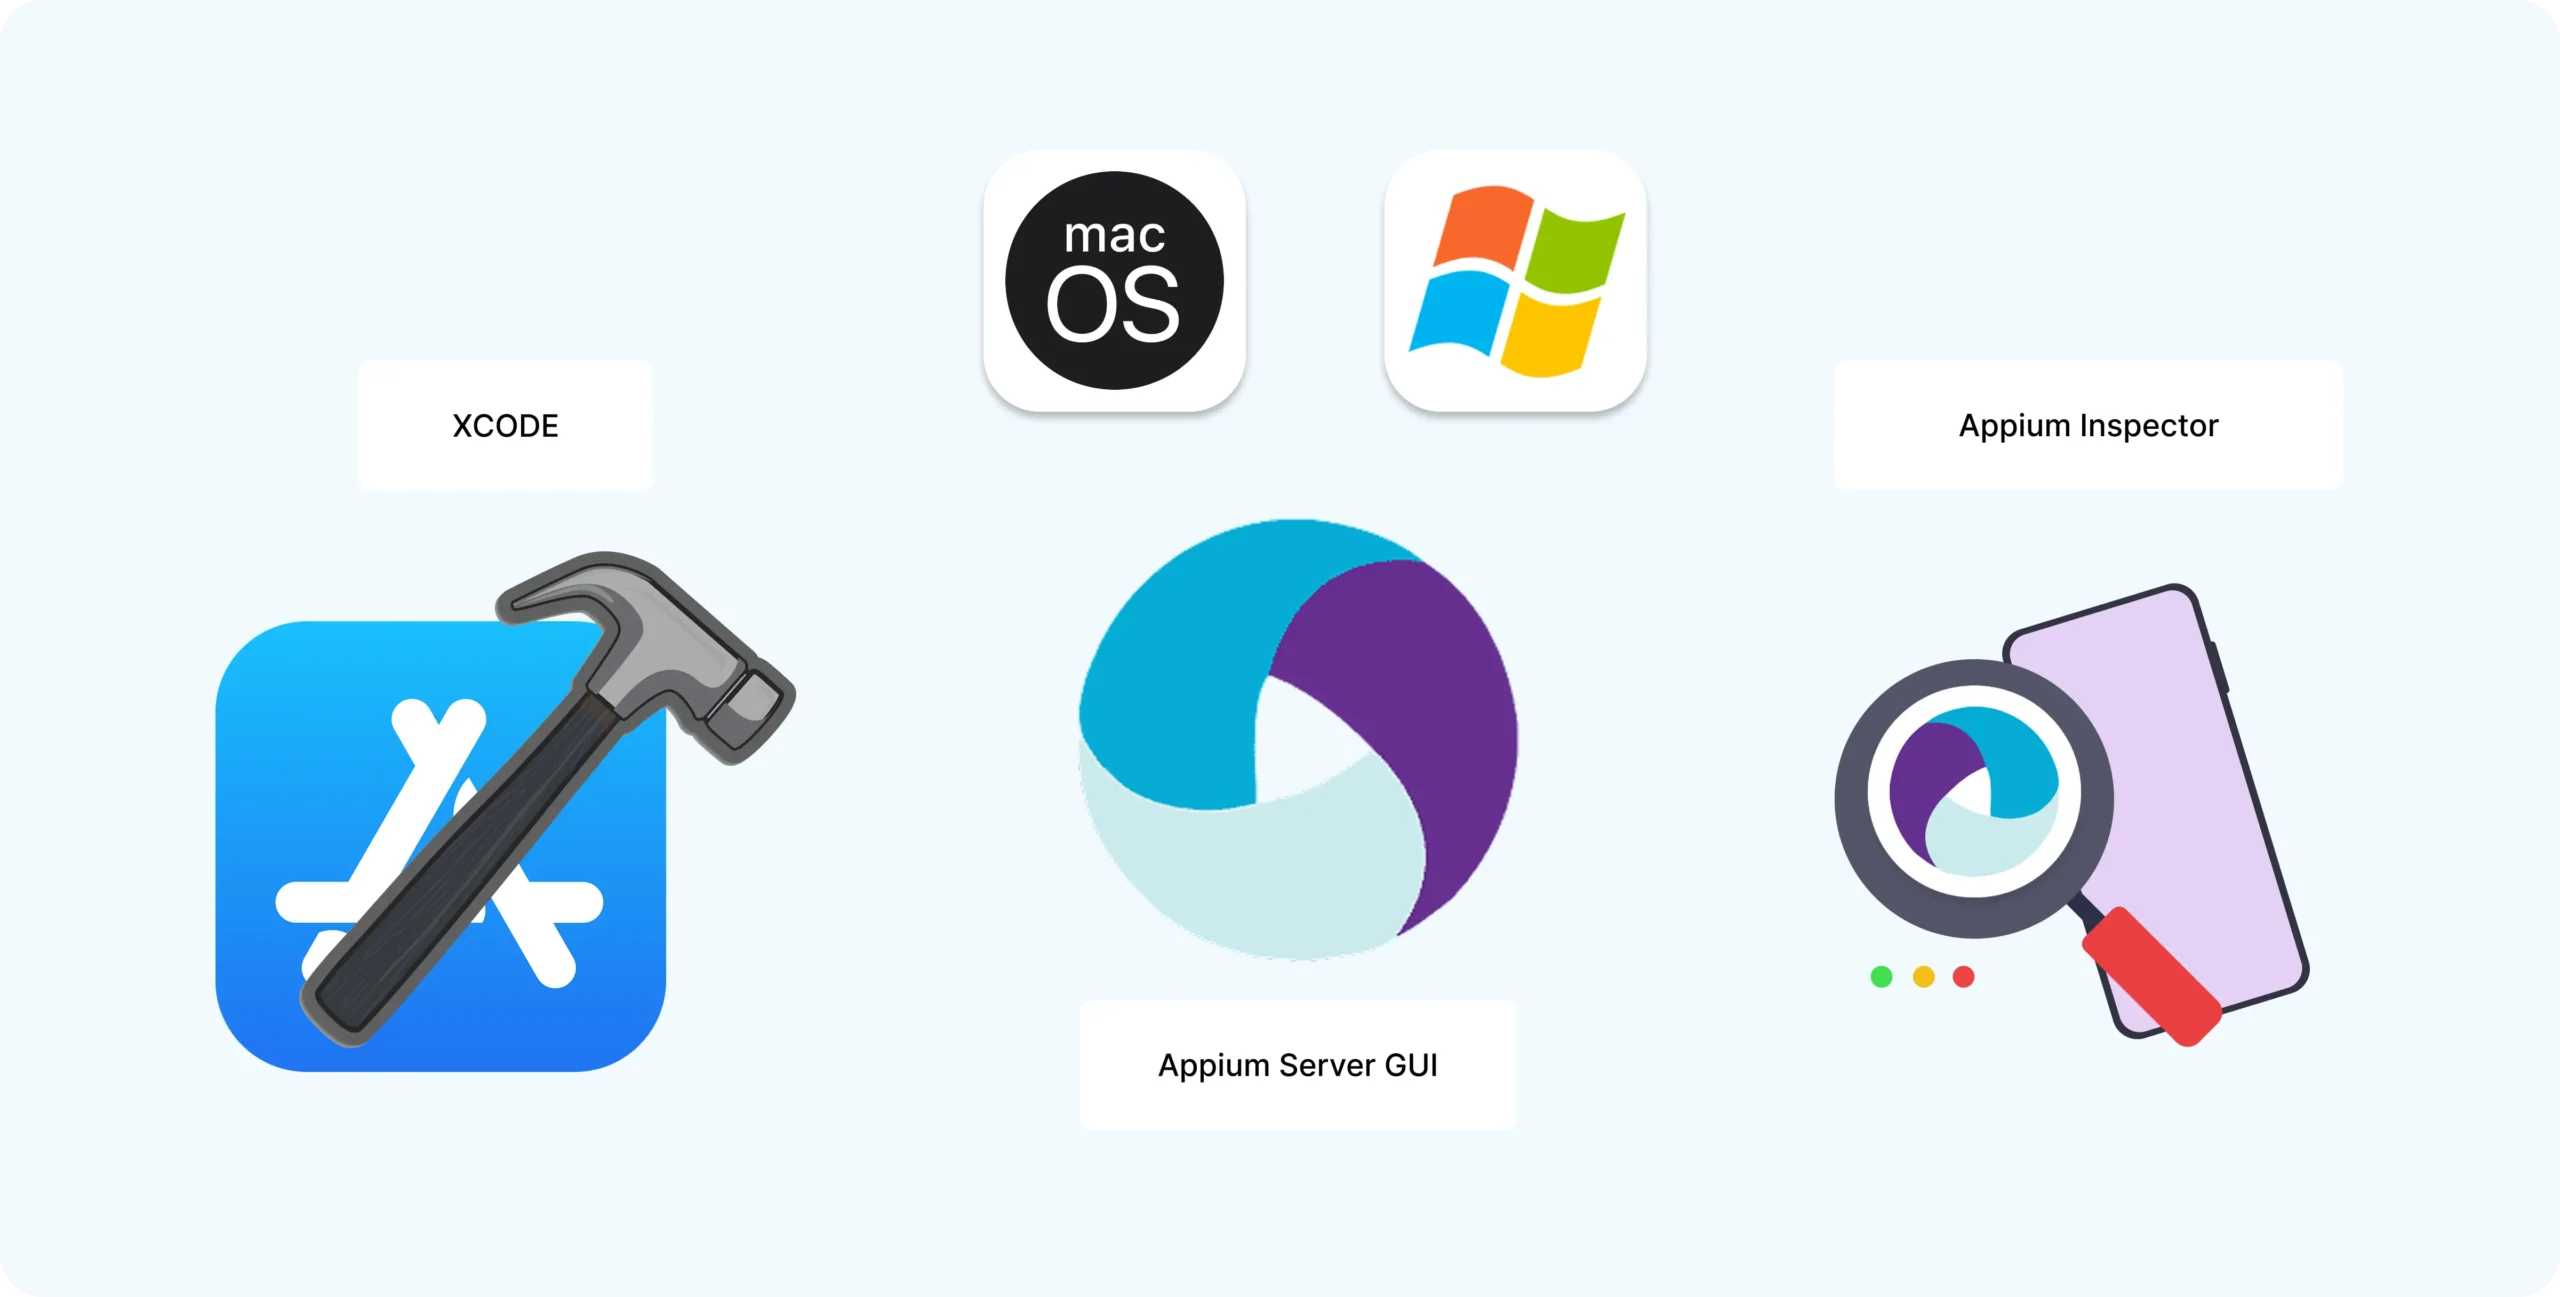
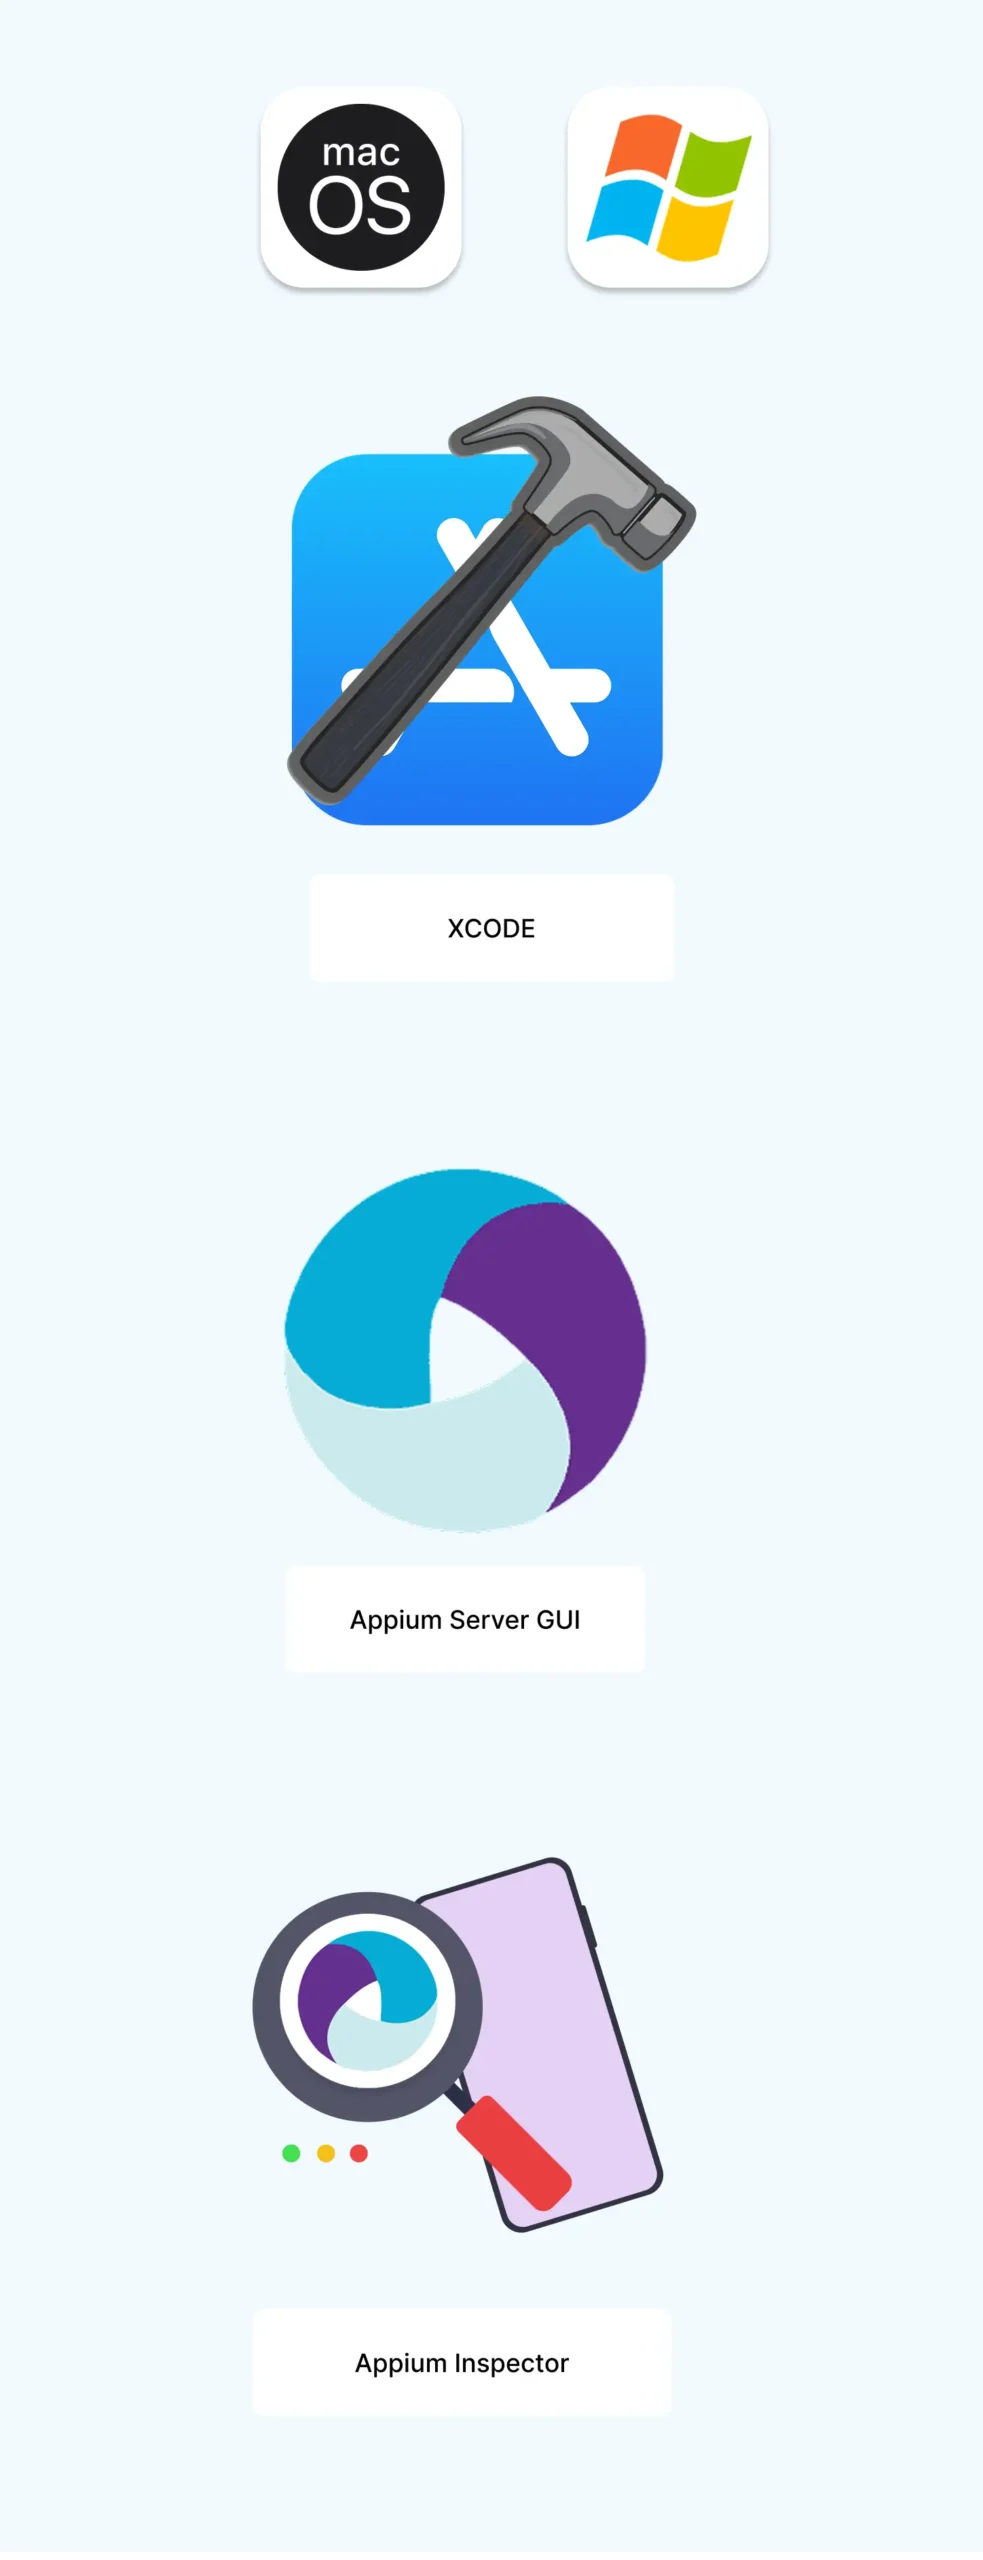
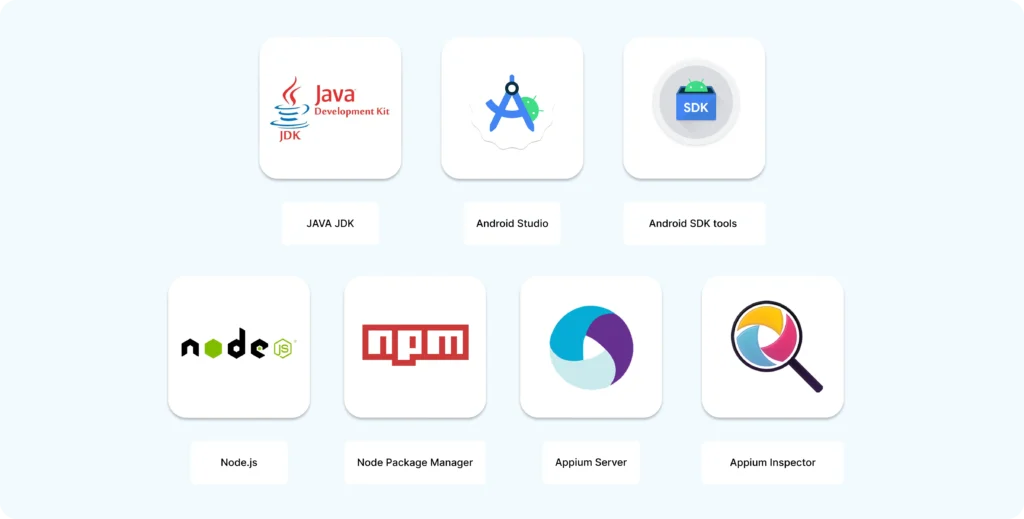
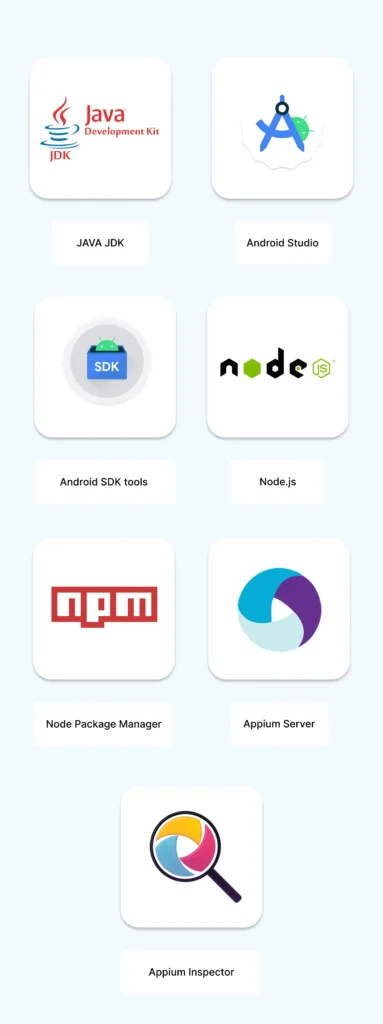
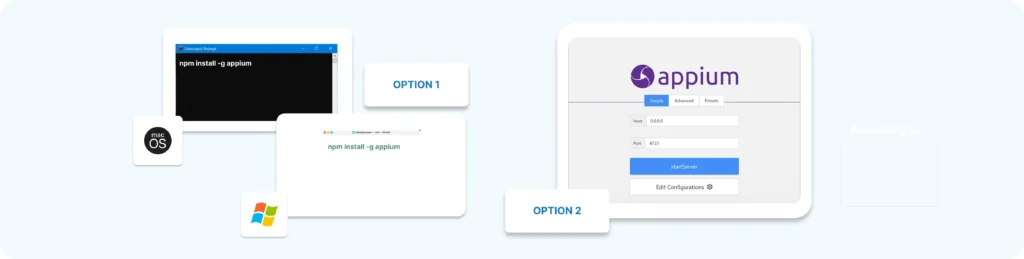
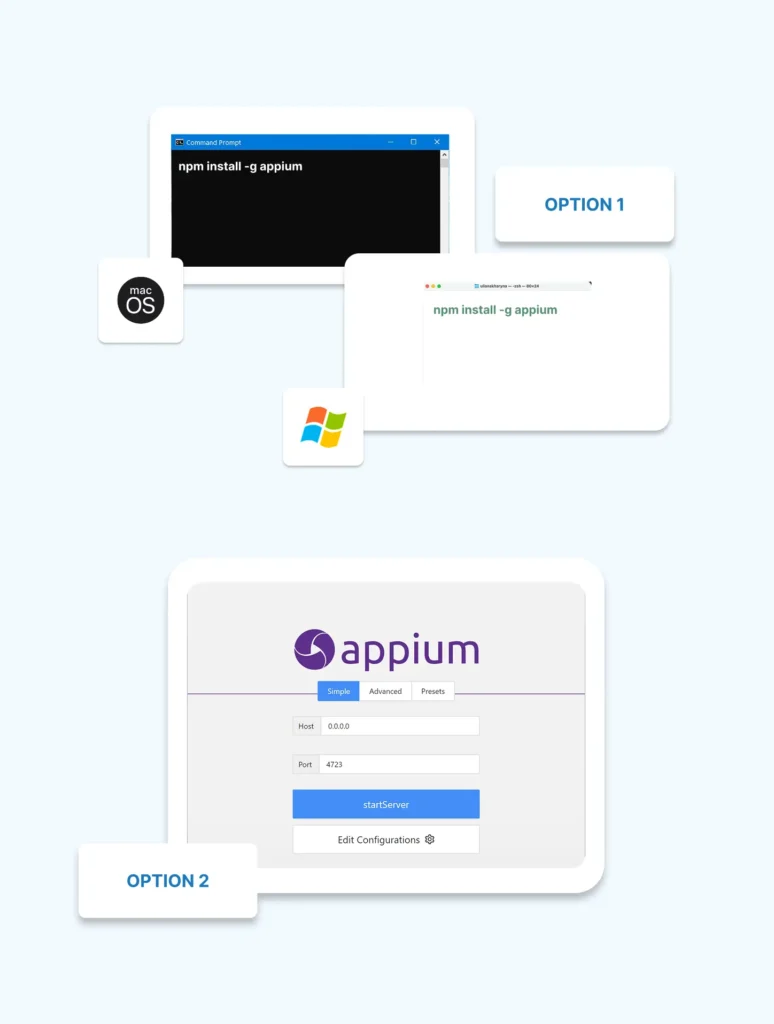
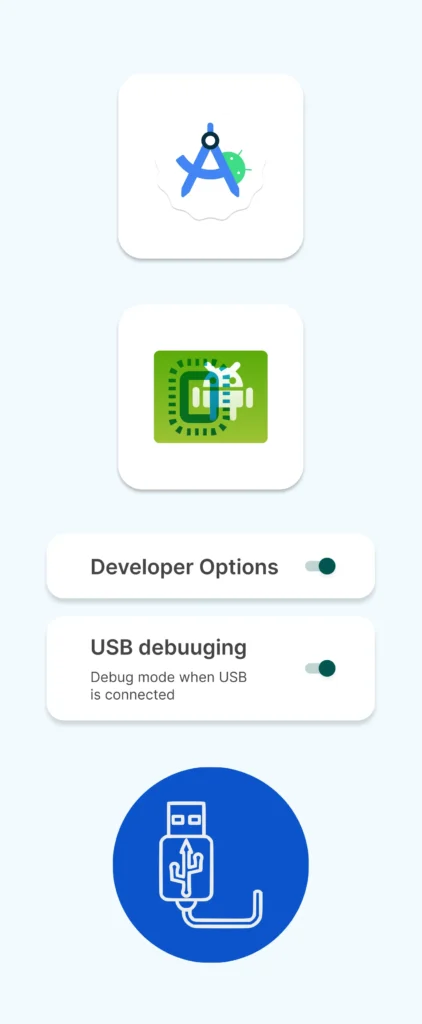
Part 5: Setting Up the Environment (Windows & macOS) Before we start writing Appium tests, we need to set up our computer with the right tools and configurations. Don’t worry — We’ll guide you through every step. Table of Contents Prerequisites You’ll Need:Step 1: Install Java JDKStep 2: Install Android Studio and SDK ToolsStep 3: Install Node.js and npmStep 4: Install Appium ServerStep 5: (Optional) Install Appium InspectorStep 6: Configure Android Device or EmulatorStep 7: Set Environment VariablesStep 8: Verify Everything Works Share at: Prerequisites You’ll Need: Java JDK (latest version)Android Studio + Android SDK toolsNode.js + npm (Node Package Manager)Appium ServerAppium Inspector (optional but recommended)Device or Emulator setupEnvironment variables configuration Step 1: Install Java JDK Java is the programming language we’ll use, so we need to install its development kit.Go to Oracle’s Java Download pageDownload and install the latest JDK version (choose your OS version)After installation, verify in Command Prompt (Windows) or Terminal (macOS): java -versionjavac -versionYou should see the installed version displayed. Step 2: Install Android Studio and SDK Tools Android Studio lets you run Android emulators and manage Android SDK.Download from: https://developer.android.com/studioInstall and open Android StudioUse the SDK Manager (Tools > SDK Manager) to download:SDK Platforms (select the Android versions you want to test)SDK Tools (including platform-tools) Step 3: Install Node.js and npm Appium is built on Node.js, so install it next.Download from: https://nodejs.orgChoose the LTS (Long-Term Support) version for stabilityInstall itVerify installation by running in terminal/command prompt:node -vnpm -v Step 4: Install Appium Server You can install Appium in two ways: Option 1: Using npm (command line) Open Terminal or Command Prompt and run:npm install -g appiumThis installs Appium globally.To check if it’s installed correctly:appium -v Option 2: Appium Desktop (GUI) If you prefer a graphical interface to start and inspect tests:Download from Appium Desktop ReleasesInstall like any regular application Step 5: (Optional) Install Appium Inspector Appium Inspector lets you see your app’s UI elements, which helps write test scripts.It comes bundled with Appium Desktop, so if you installed that, you already have it.You can launch it from Appium Desktop Step 6: Configure Android Device or Emulator You need a target device to run tests on: Emulator (Virtual Device): Open Android StudioGo to AVD Manager (Tools > AVD Manager)Create a new virtual device with the desired Android versionStart the emulator Real Android Device: Enable Developer Options and USB Debugging on your phoneConnect your phone via USBVerify connection by running: adb devices This should list your device. Step 7: Set Environment Variables You need to tell your computer where Java, Android SDK, and Node.js are installed. On Windows: Open System Properties > Advanced > Environment VariablesAdd or edit these variables: Variable Value Example (adjust to your paths) JAVA_HOME C:\Program Files\Java\jdk-<version> ANDROID_HOME C:\Users\<YourUser>\AppData\Local\Android\Sdk PATH Add %JAVA_HOME%\bin; %ANDROID_HOME%\platform-tools; %ANDROID_HOME%\tools On macOS/Linux: Open Terminal and add these lines to your ~/.bash_profile or ~/.zshrc: JAVA_HOME=$(/usr/libexec/java_home) ANDROID_HOME=~/Library/Android/sdk PATH=$PATH:$JAVA_HOME/bin:$ANDROID_HOME/platform-tools:$ANDROID_HOME/tools Then run: source ~/.bash_profile (or source ~/.zshrc if you use zsh) Step 8: Verify Everything Works Open a terminal or command promptRun: Open a terminal or command promptRun: java -version node -v npm -v appium -v adb devices If all return valid versions or your device list, you are good to go Building complex IoT systems? Accelerate testing and deployment with our QEMU-integrated toolchain expertise. Contact us now Mastering Appium: A Complete Beginner-to-Expert Mobile Automation Guide Part 1 : Introduction to Mobile Automation and Appium Part 2 : Appium Architecture, Tools Setup & How Test Code Connects to Devices Part 3 : Java Fundamentals for Test Automation Part 4 : Next Steps: Level Up Before Real Appium Scripting Part 5 : Setting Up the Environment (Windows & macOS) Part 6 : Understanding UiAutomator2 (Android Engine) Part 7 : First Appium Test Script (Android) Part 8 : Handling Waits and Synchronization in Appium (Android) Part 9 : Element Locator Strategies in Android (ID, XPath, etc.) Part 10 : TestNG Integration for Test Execution Part 10.1 : Advanced TestNG Features in Appium Framework Part 11 : Page Object Model (POM) Design in Appium (Android) Part 12 : Logging with Log4j & Reporting with Extent Reports (Appium - Android) Part 13 : Real Devices vs Virtual Devices Part 14 : iOS Automation Basics (XCUITest)