Part 6: Understanding UiAutomator2 (Android Engine)
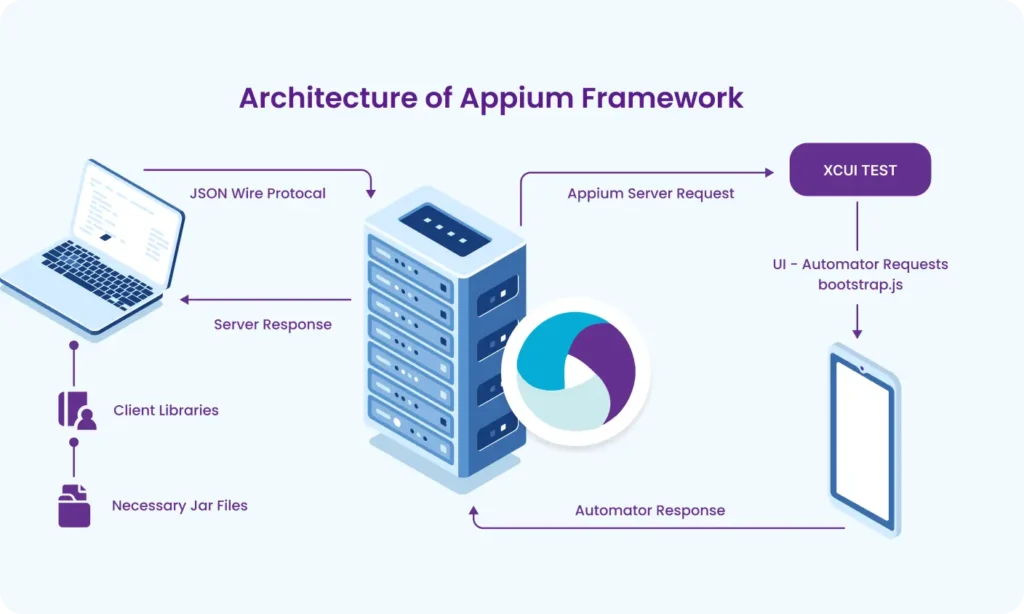
When automating Android apps using Appium, you need a way for your test scripts to interact with the Android device or emulator. This is where UiAutomator2 comes in.
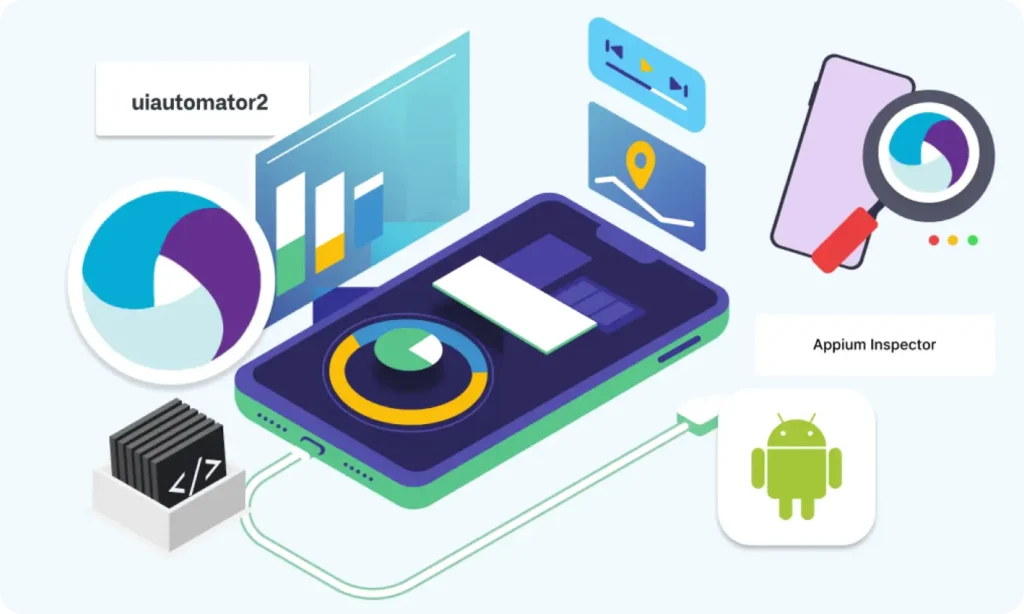
UiAutomator2 is a Google-supported automation framework for Android. It’s used by Appium as the default automation engine to control and interact with Android devices and apps.
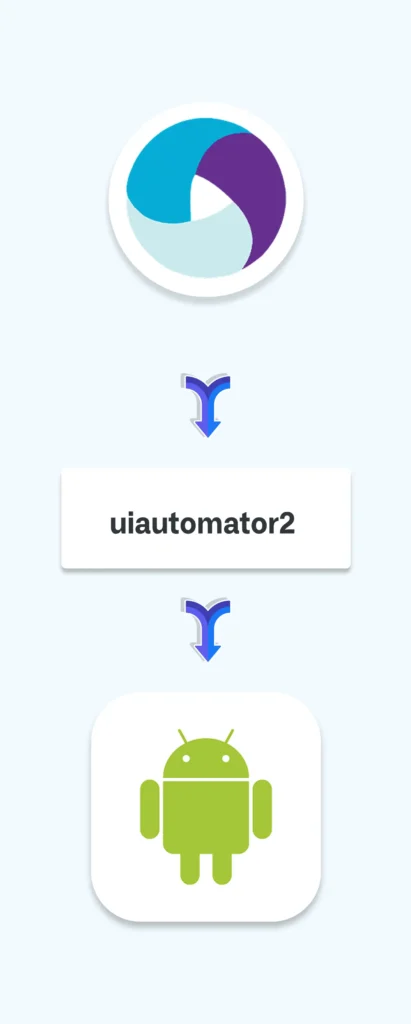
Think of UiAutomator2 as the “bridge” between your Appium test scripts and the Android operating system — it understands how to find buttons, enter text, scroll lists, and perform actions on Android.
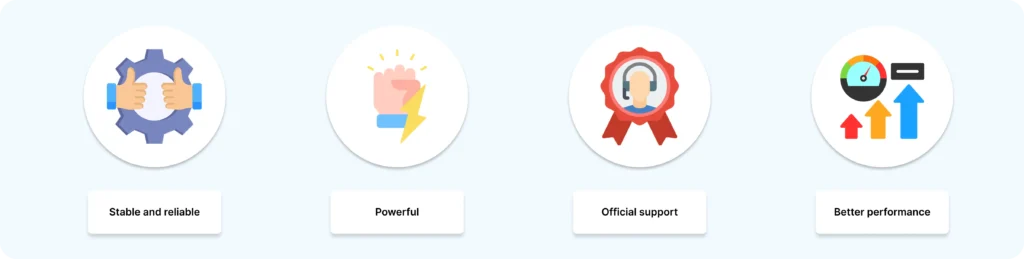
Why does Appium use UiAutomator2 for Android automation?
Stable and reliable: UiAutomator2 supports a wide range of Android versions and devices.
Powerful: It can interact with system apps (like settings), and handle complex UI actions.
Official support: Developed by Google, so it keeps pace with Android updates.
Better performance: Compared to older frameworks, UiAutomator2 is faster and more robust.
How to Install the UiAutomator2 Driver for Appium
Appium uses drivers to talk to different platforms. For Android automation, the UiAutomator2 driver needs to be installed.
To install it, open your terminal or command prompt and run:
appium driver install uiautomator2
If you’re using Appium Desktop, this is usually pre-installed, but this command ensures you have the latest version.
Using UiSelector and UiScrollable
UiAutomator2 provides powerful tools to locate elements and interact with them.
UiSelector
A flexible way to select UI elements based on attributes like text, resource ID, class name, and more.
For example:
Find a button by text:
new UiSelector().text(“Submit”)
Find an element by resource ID:
new UiSelector().resourceId(“com.example:id/loginButton”)
UiScrollable
When you want to scroll through a list or screen to find an element that’s not immediately visible.
Example: Scroll to an element with text “Settings”:
new UiScrollable(new UiSelector().scrollable(true)) .scrollIntoView(new UiSelector().text(“Settings”));
This will automatically scroll until the “Settings” element is visible.
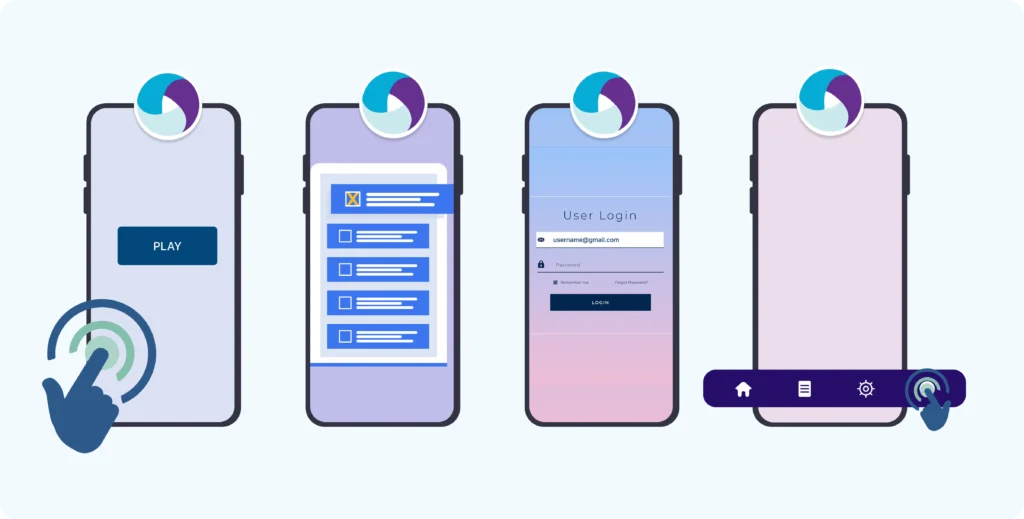
Practical Examples of Actions with UiAutomator2
Tap on an element
You instruct Appium to tap a button or any clickable element found by UiSelector.
Scroll through a list
Use UiScrollable to scroll up/down or to a specific item.
Type text into fields
Send text input to text boxes or fields.
Perform system actions
UiAutomator2 can trigger actions like pressing the Home button, opening notifications, or switching apps.
Inspecting Elements
Before you automate, you need to identify elements on the screen. Two popular tools help with this:
Appium Inspector
Comes with Appium Desktop
Lets you connect to your app and visually inspect UI elements
Shows element properties you can use in your tests (like resource-id, text, xpath)
UIAutomatorViewer (Android SDK Tool)
A standalone tool from Android SDK
Helps inspect the hierarchy of the app’s UI elements on your device or emulator
Provides detailed info about each element (class, bounds, resource-id)
Why is inspecting elements important?
Without knowing the exact properties of UI elements, your test scripts won’t be able to find or interact with them correctly. So, always inspect first!
Summary:
Concept
What it means for your tests
UiAutomator2
Android automation engine that interacts with devices
UiSelector
Helps locate UI elements using their properties
UiScrollable
Helps scroll through lists/screens to find elements
Inspecting Tools
Tools to identify UI elements and their attributes
UiAutomator2 vs Selendroid – What’s the Difference?
Appium supports multiple Android automation engines (drivers) — and over time, newer ones like UiAutomator2 have replaced older ones like Selendroid.
Here’s how they compare:
1. Android Version Support
Feature
UiAutomator2
Selendroid
Android Compatibility
Android 5.0+ (Lollipop and above)
Android 4.1 to 4.4 (Jelly Bean, KitKat)
Actively Maintained
Yes
No (deprecated)
Use UiAutomator2 if you’re testing on modern devices.
Selendroid is outdated and not maintained anymore.
2. App Support
Feature
UiAutomator2
Selendroid
Supports Native Apps
Yes
Yes
Supports Hybrid/Web Apps
Yes
Yes
Requires App Re-signing
No
Yes (APK must be re-signed)
Selendroid requires your APK to be re-signed, which is not ideal — especially for production builds.
3. Performance & Stability
Feature
UiAutomator2
Selendroid
Speed
Faster
Slower
Stability
More stable
Can be flaky
Feature Support
Rich
Limited
UiAutomator2 is faster, more reliable, and handles complex scenarios better (like scrolling, gestures, popups).
4. Touch and Gesture Support
UiAutomator2 provides better support for:
Long press
Drag and drop
Multi-touch gestures
Scrolling through complex views
Selendroid struggles with these actions or doesn’t support them at all.
Summary
Feature
UiAutomator2
Selendroid
Modern Android Support
Yes
No
Re-signing Required
No
Yes
Performance
Fast & stable
Slow & outdated
Touch & Gesture Support
Full support
Limited
Actively Maintained
Yes
No
Which One Should You Use?
UiAutomator2 — It’s the default Android driver in Appium now and the best choice for most test cases. Selendroid — Only useful for very old devices (Android 4.x), and even then, not recommended unless absolutely necessary.
Building complex IoT systems?
Accelerate testing and deployment with our QEMU-integrated toolchain expertise.