Part 9: Element Locator Strategies in Android (ID, XPath, etc.)
Understanding how to locate elements on a mobile screen is one of the most critical skills in mobile test automation. You’ll use locators to interact with buttons, input fields, switches, popups, and more.
Let’s learn how to identify elements properly and which locator strategies work best with Appium for Android.
What Are Element Locators?
Locators help Appium find and interact with elements in your app’s UI — like buttons, text fields, etc.
You can think of them as:
“How do I tell Appium which element to click, type into, or check?”
Tools to Help You Find Locators
1. Appium Inspector
- UI analysis tool provided with Appium Desktop
- Shows element properties (resource-id, class, bounds, etc.)
- Allows live inspection of the app running on your emulator/device
2. UIAutomatorViewer
- Comes with Android SDK
- Static tool to inspect elements from a snapshot of your device screen
Both tools give you information like:
- resource-id
- text
- class
- content-desc (accessibility ID)
- bounds
- index
Common Locator Strategies in Android
Here are the most widely used strategies (and when to use them):
1. By ID (resource-id) — Best Choice
driver.findElement(By.id("com.example:id/loginButton")).click();
- Fast and reliable
- Unique most of the time
- Recommended as first option
Use only when the available resource id matches the requirement to automate
2. By Accessibility ID (content-desc)
driver.findElementByAccessibilityId("Login").click();
- Works well with buttons, icons
- Useful for cross-platform tests
Often used for VoiceOver and TalkBack users (accessibility)
3. By XPath — Use with caution
driver.findElement(By.xpath("//android.widget.TextView[@text='Login']")).click();
- Flexible (can target almost anything)
- Slower than ID or Accessibility ID
- Can break easily if UI changes
Use XPath only when no ID or content-desc is available.
4. By Class Name
driver.findElement(By.className("android.widget.EditText")).sendKeys("admin");
- Good for getting all elements of a type
- Not always unique
- Avoid using it to find individual elements
5. Android UIAutomator (advanced)
driver.findElementByAndroidUIAutomator("new UiSelector().text(\"Login\")");
- Useful for scrolling, filtering, chaining
- Very powerful for complex screens
Example Using Multiple Strategies
// By ID
driver.findElement(By.id("com.example:id/username")).sendKeys("admin");
// By Accessibility ID
driver.findElementByAccessibilityId("Login").click();
// By XPath (if no ID or accessibility ID)
driver.findElement(By.xpath("//android.widget.Button[@text='Submit']")).click();
// By Android UIAutomator
driver.findElementByAndroidUIAutomator("new UiSelector().resourceId(\"com.example:id/password\")").sendKeys("1234");
Tips to Choose the Best Locator
Use Case
Best Locator
Unique input field or button
By.id()
Icon or image with a description
By.accessibilityId()
No ID or accessibility
By.xpath() (last resort)
Lists, scrolls, or filtering
UiAutomator()
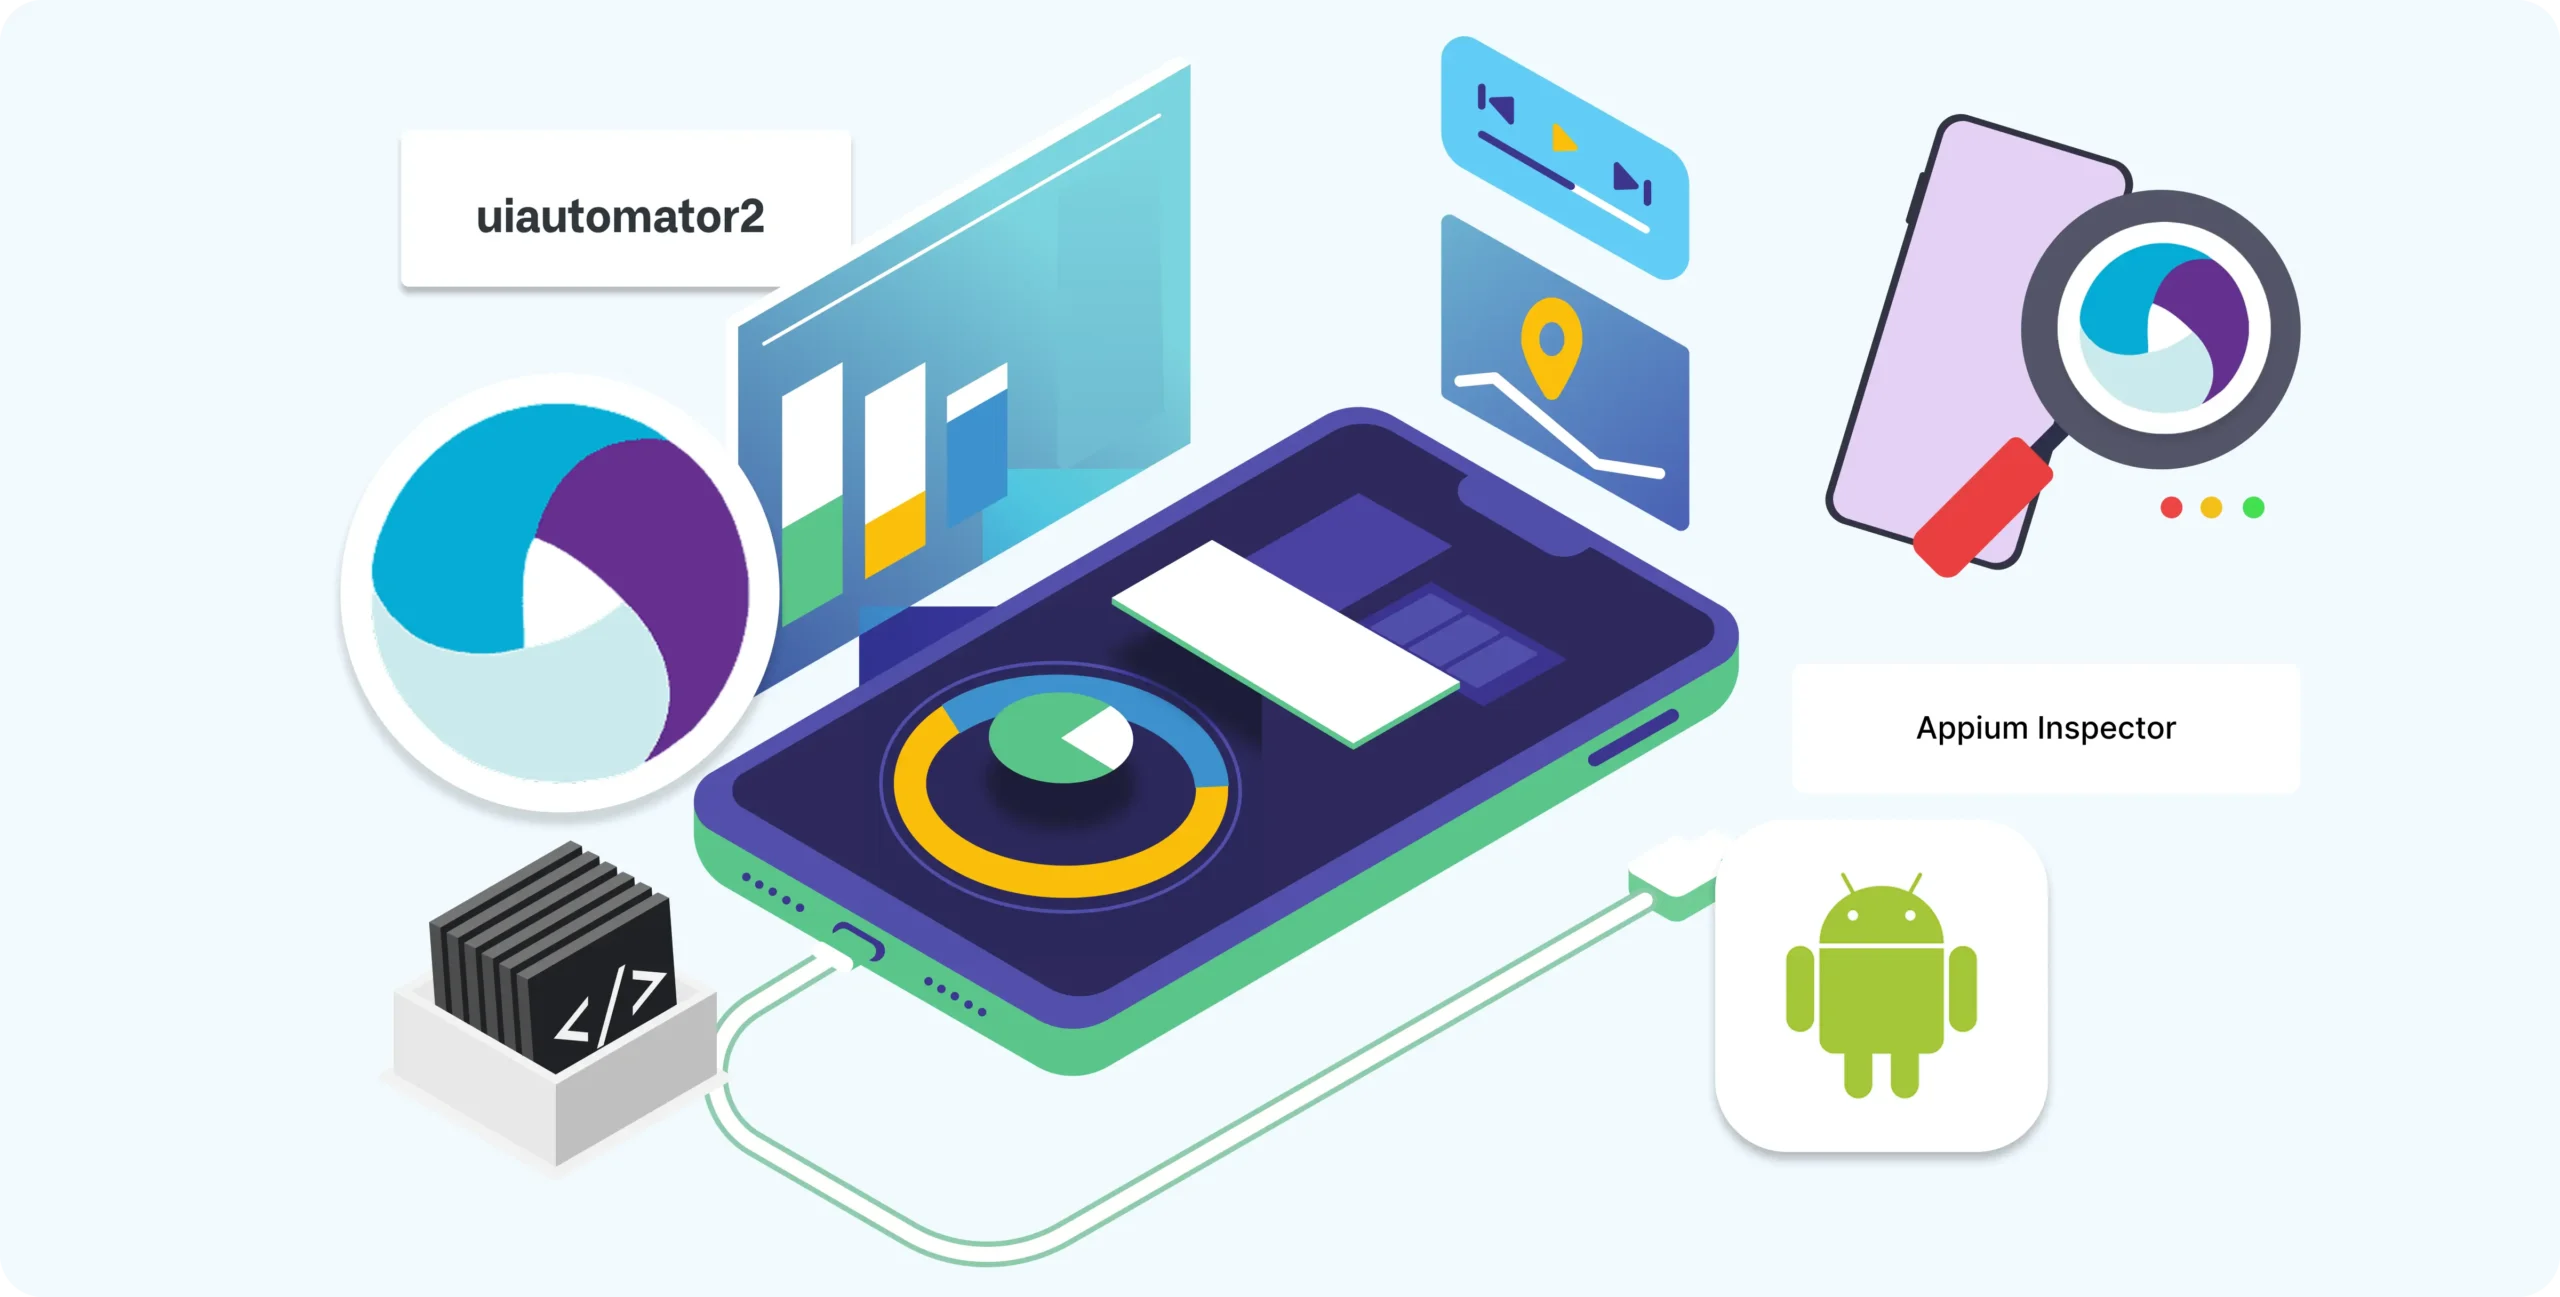
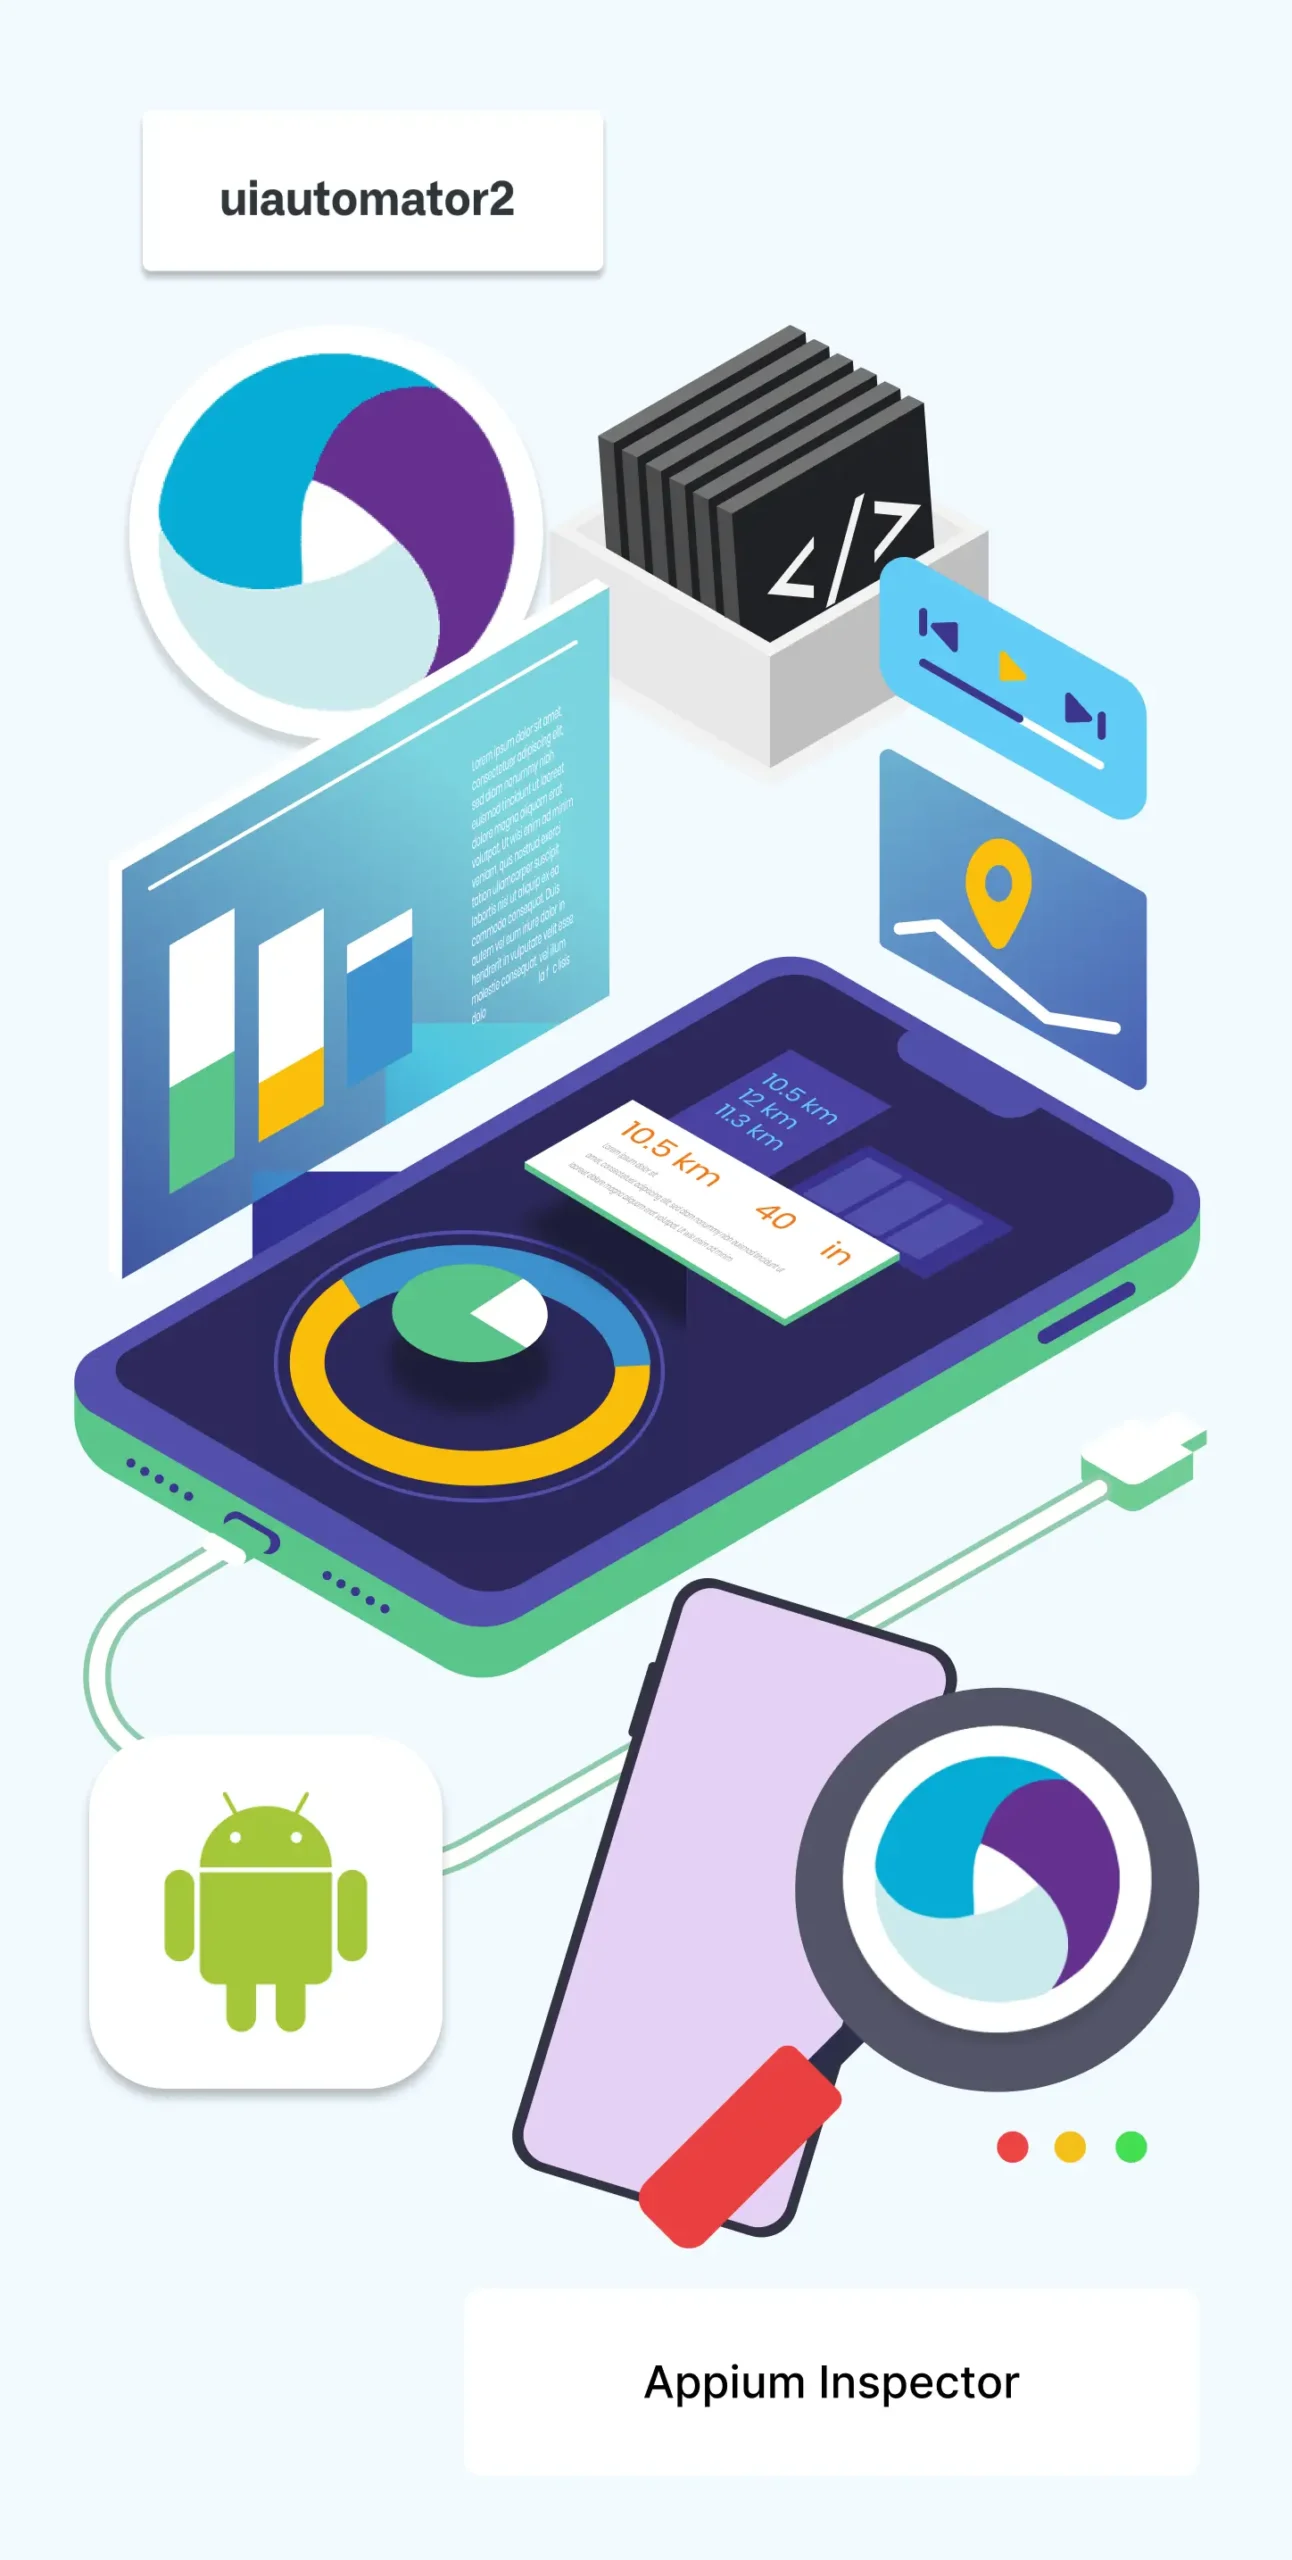
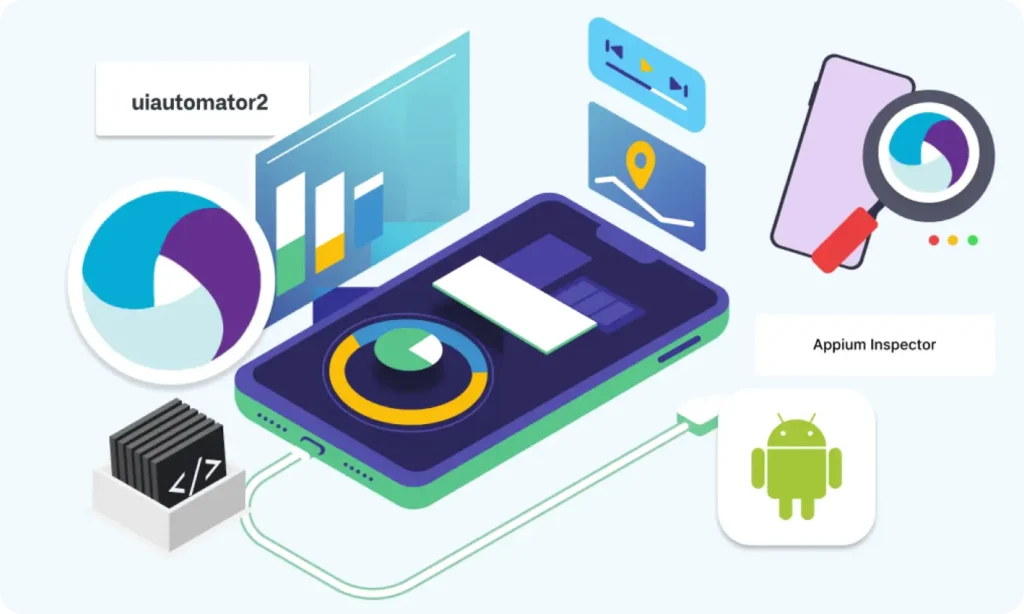
How to Verify Your Locators Work
Use Appium Inspector to:
- Start your Appium server.
- Launch the app on an emulator or device.
- Use Appium Inspector to click on elements and view their properties.
- Copy the locator and use it in your script.
Summary Table
Feature
UiAutomator2
Selendroid
By.id
By.id("com.example:id/btnLogin")
Unique elements
By.accessibilityId
ByAccessibilityId("Login")
Buttons, icons
By.xpath
By.xpath("//android.widget.TextView[@text='Submit'])"
When no ID or accessibility ID
By.className
By.className("android.widget.EditText")
Groups of elements
UiAutomator
UiSelector().text("Submit")
Advanced targeting, scrolling
What’s Next?
Let’s now move on to Part 10: Page Object Model (POM) Design — where you’ll learn how to organize your locators and actions cleanly for reusable, scalable automation.
Here you will learn how to frame the design and how the frame work can be designed, The framework is designed to match the test suite and
Building complex IoT systems?
Accelerate testing and deployment with our QEMU-integrated toolchain expertise.
Mastering Appium: A Complete Beginner-to-Expert Mobile Automation Guide
Part 1: Introduction to Mobile Automation and Appium
Part 2: Appium Architecture, Tools Setup & How Test Code Connects to Devices
Part 3: Java Fundamentals for Test Automation
Part 4 : Next Steps: Level Up Before Real Appium Scripting
Part 5: Setting Up the Environment (Windows & macOS)
Part 6: Understanding UiAutomator2 (Android Engine)
Part 7: First Appium Test Script (Android)
Part 8: Handling Waits and Synchronization in Appium (Android)
Part 9: Element Locator Strategies in Android (ID, XPath, etc.)
Part 10: Page Object Model (POM) Design in Appium (Android)
Part 8: Handling Waits and Synchronization in Appium (Android)