Part 7: First Appium Test Script (Android)
Welcome to the exciting part — writing your first automation script using Appium on an Android device! We’ll go from setting up the test environment to running a simple test on a sample app.

Step 1: Understanding Desired Capabilities
Before running any test, you need to tell Appium what device and app you want to test and how you want to automate it. This is done via Desired Capabilities — a set of key-value pairs.
Here are some common Desired Capabilities for Android:
Feature
UiAutomator2
Selendroid
platformName
The platform you’re testing on
"Android"
platformVersion
Android OS version of your device or emulator
"12"
deviceName
Name or ID of the device/emulator
"Android Emulator"
automationName
Which automation engine to use (UiAutomator2 for Android)
"UiAutomator2"
appPackage
The package name of the app you want to test
"com.android.calculator2"
appActivity
The main activity that starts the app
"com.android.calculator2.Calculator"
These capabilities help Appium know exactly what to automate and where.
Step 2: Installing and Launching APKs
- APK is the Android app package file.
- If you want to test your own app, you’ll need the APK file.
- You can install it manually on your device or ask Appium to install it automatically.
To let Appium install the APK, add this capability:
options.setApp( “path/to/your/app.apk”);
Note: If you provide the app capability, Appium will install the app before running tests. If you only provide appPackage and appActivity, it assumes the app is already installed on your device.
Step 3: Locating Elements and Performing Actions
Once your app is launched, your test script needs to locate UI elements (like buttons, text fields) and perform actions (click, type, scroll).
Here are common ways to locate elements:
- By resource ID (recommended when available):
driver.findElementById(“com.android.calculator2:id/digit_2”).click();
- By Accessibility ID (sometimes called content-desc in Android):
driver.findElementByAccessibilityId(“plus”).click();
- By XPath (less preferred due to performance):
driver.findElementByXPath(“//android.widget.Button[@text=’=’]”).click();
Step 4: Verifying Results
Testing isn’t just about clicking buttons — you want to verify the app behaves correctly.
Example: After tapping buttons in the calculator, you want to check if the result is correct.
					String result = driver.findElementById("com.android.calculator2:id/result").getText();

if (result.equals("5")) {
    System.out.println("Test Passed!");
} else {
    System.out.println("Test Failed. Expected 5 but got " + result);
}
You can use assertions with testing frameworks like TestNG or JUnit for better reporting (we’ll cover that later).
Complete Sample Test Script
Here’s a full simple test using the Calculator app:
					 import io.appium.java_client.android.AndroidDriver;
import io.appium.java_client.android.options.UiAutomator2Options;
import org.openqa.selenium.WebElement;
import org.openqa.selenium.support.ui.WebDriverWait;
import java.net.URI;
import java.time.Duration;

public class CalculatorTest {

    public static void main(String[] args) {
        AndroidDriver driver = null;
        WebDriverWait wait;

        try {
            // Set up Appium capabilities
            UiAutomator2Options options = new UiAutomator2Options();
            options.setDeviceName("Pixel 6");  // Update with your device/emulator name
            options.setAppPackage("com.android.calculator2");
            options.setAppActivity("com.android.calculator2.Calculator");
            options.setPlatformName("Android");

            // Initialize the driver
            driver = new AndroidDriver(new URI("http://yourIpAddress").toURL(), options);
            driver.manage().timeouts().implicitlyWait(Duration.ofSeconds(10));
            wait = new WebDriverWait(driver, Duration.ofSeconds(10));

            // Perform 2 + 3 = 5
            driver.findElementById("com.android.calculator2:id/digit_2").click();
            driver.findElementByAccessibilityId("plus").click();
            driver.findElementById("com.android.calculator2:id/digit_3").click();
            driver.findElementByAccessibilityId("equals").click();

            String result = driver.findElementById("com.android.calculator2:id/result").getText();

            if (result.equals("5")) {
                System.out.println("Test Passed!");
            } else {
                System.out.println("Test Failed. Expected 5 but got " + result);
            }

        } catch (Exception e) {
            System.err.println("Test failed with exception:");
            e.printStackTrace();
        } finally {
            if (driver != null) {
                driver.quit();
            }
        }
    }
}
Summary:
Step
What it means
Desired Capabilities
Tell Appium which device and app to automate
APK Installation
Optionally provide APK path to install app automatically
Locate Elements
Find UI elements by ID, Accessibility ID, XPath
Perform Actions
Click, type, scroll, etc., using element locators
Verify Results
Check if the app response is as expected
Building complex IoT systems?
Accelerate testing and deployment with our QEMU-integrated toolchain expertise.
Mastering Appium: A Complete Beginner-to-Expert Mobile Automation Guide

Part 1 : Introduction to Mobile Automation and Appium
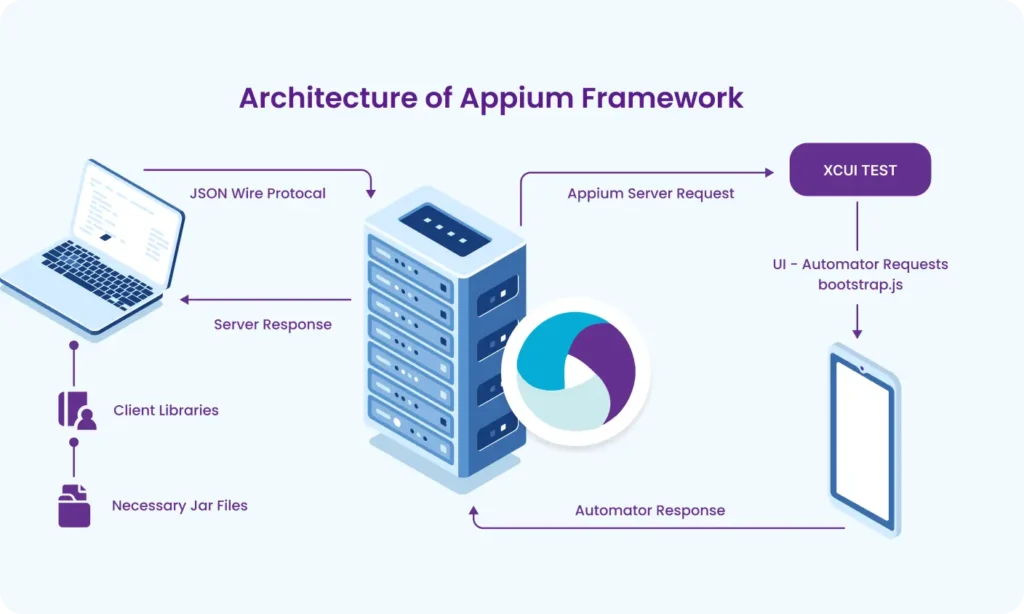
Part 2 : Appium Architecture, Tools Setup & How Test Code Connects to Devices
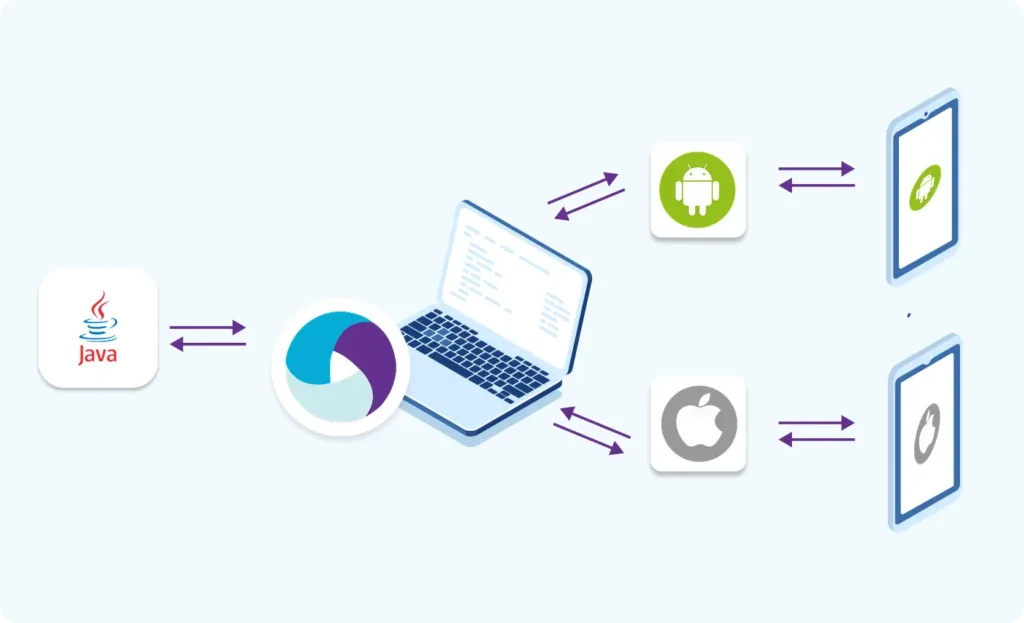
Part 3 : Java Fundamentals for Test Automation

Part 4 : Next Steps: Level Up Before Real Appium Scripting

Part 5 : Setting Up the Environment (Windows & macOS)
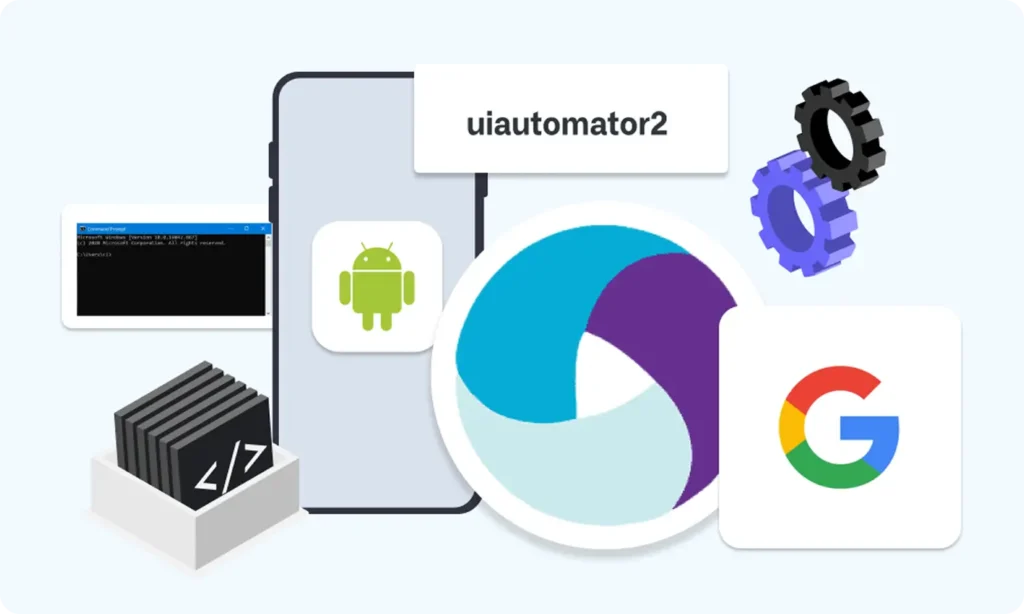
Part 6 : Understanding UiAutomator2 (Android Engine)

Part 7 : First Appium Test Script (Android)

Part 8 : Handling Waits and Synchronization in Appium (Android)

Part 9 : Element Locator Strategies in Android (ID, XPath, etc.)

Part 10 : TestNG Integration for Test Execution

Part 10.1 : Advanced TestNG Features in Appium Framework

Part 11 : Page Object Model (POM) Design in Appium (Android)

Part 12 : Logging with Log4j & Reporting with Extent Reports (Appium - Android)

Part 10.1: Advanced TestNG Features in Appium Framework
